
Как сделать воду в roblox studio
Обновлено: 07.07.2024

So, here is a short tutorial. Expect some scripting tutorials soon! :blush:
-If you don't want to use the terrain water.
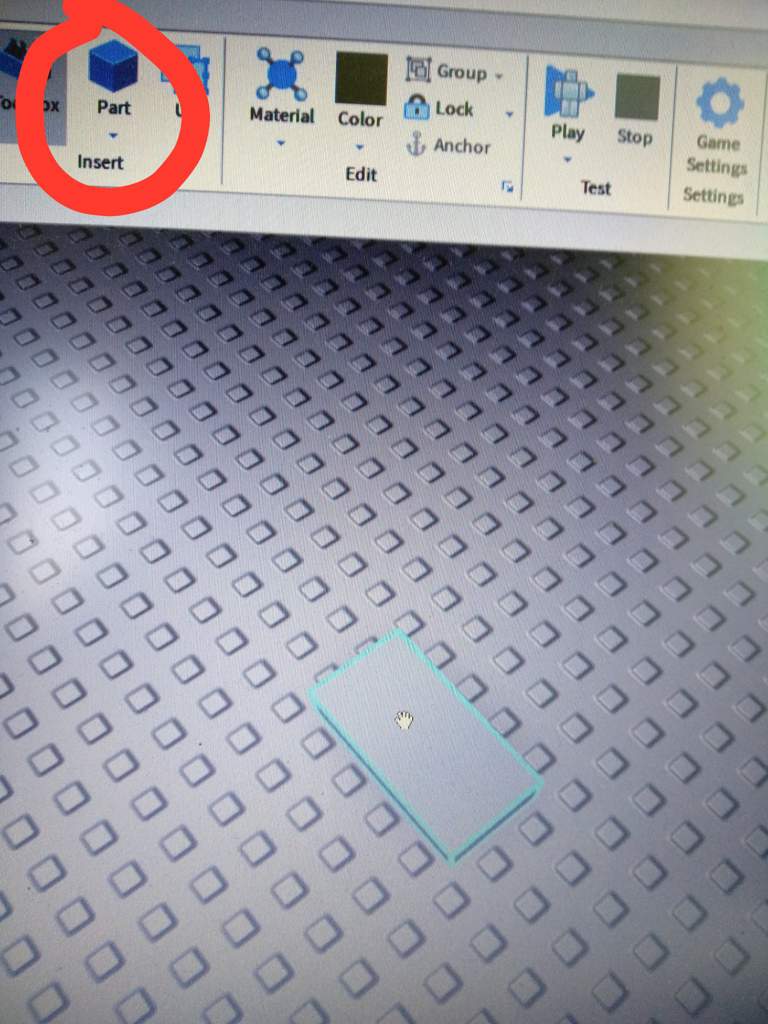
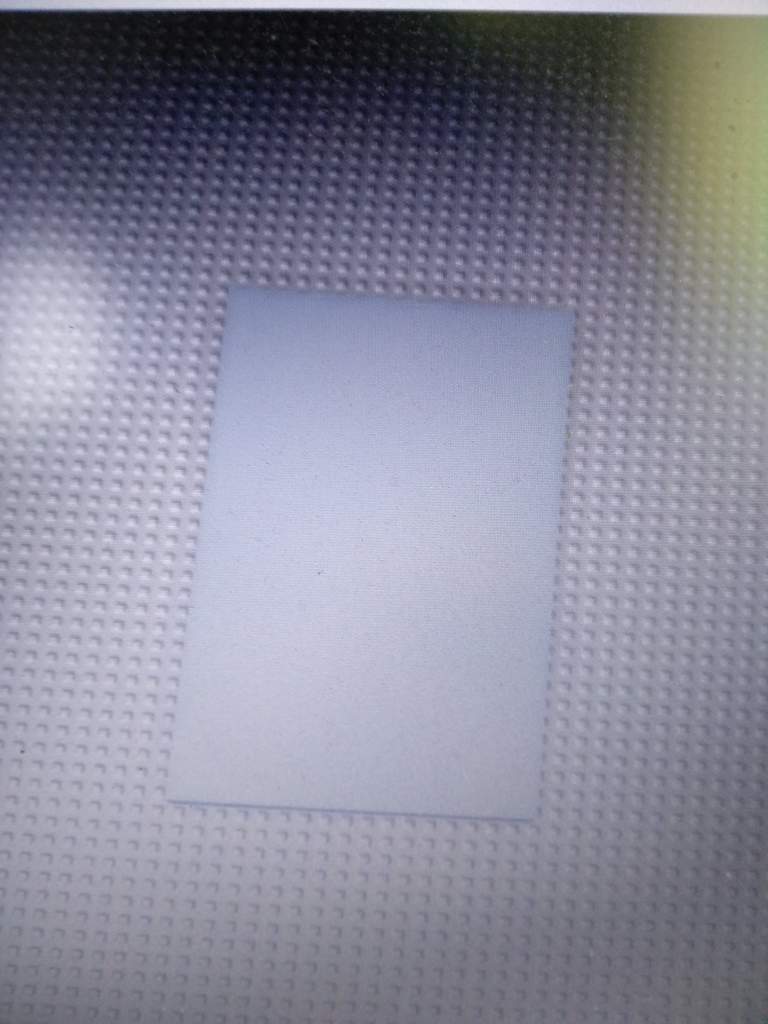
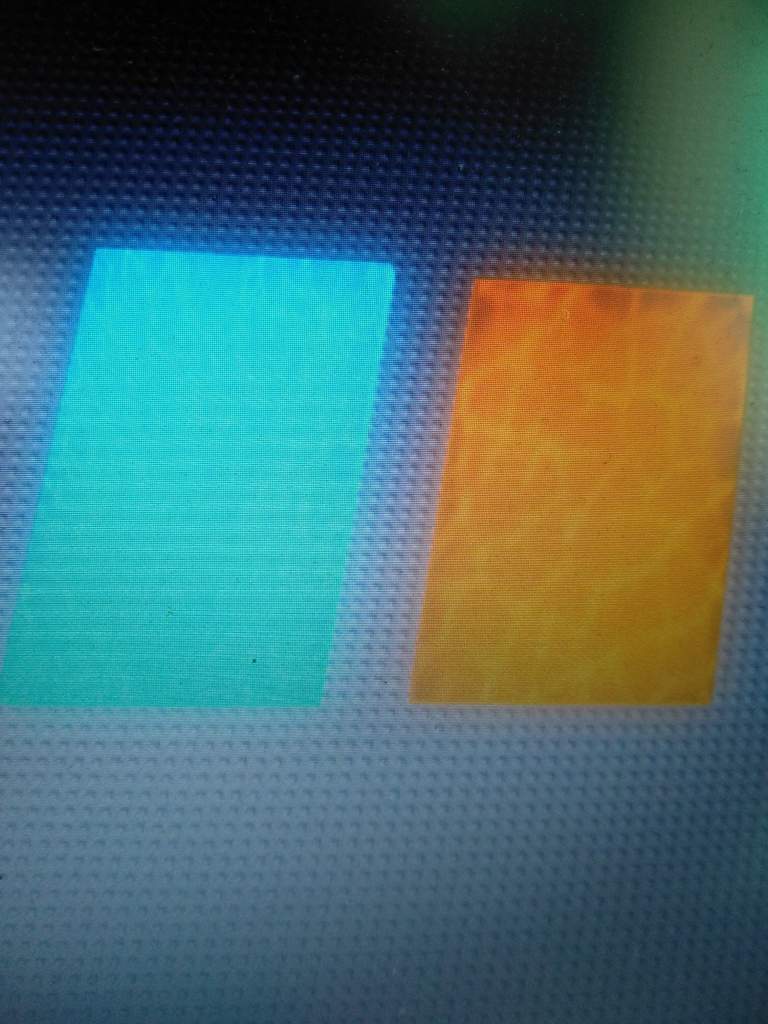
Scale the part by using the scale tool.
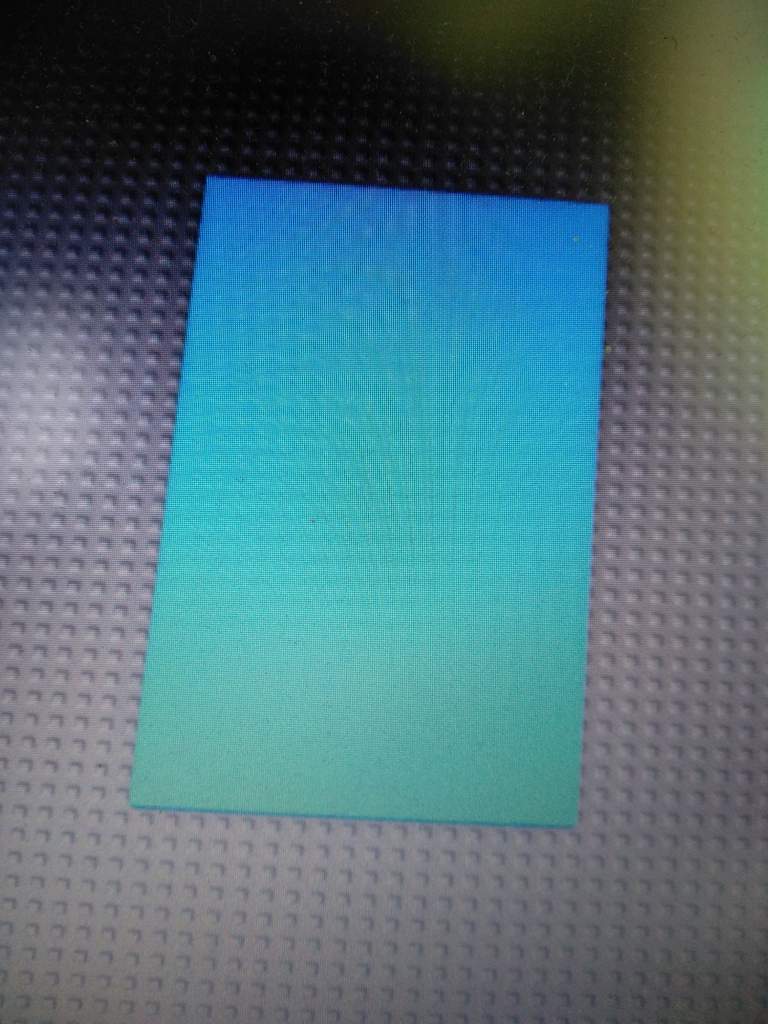
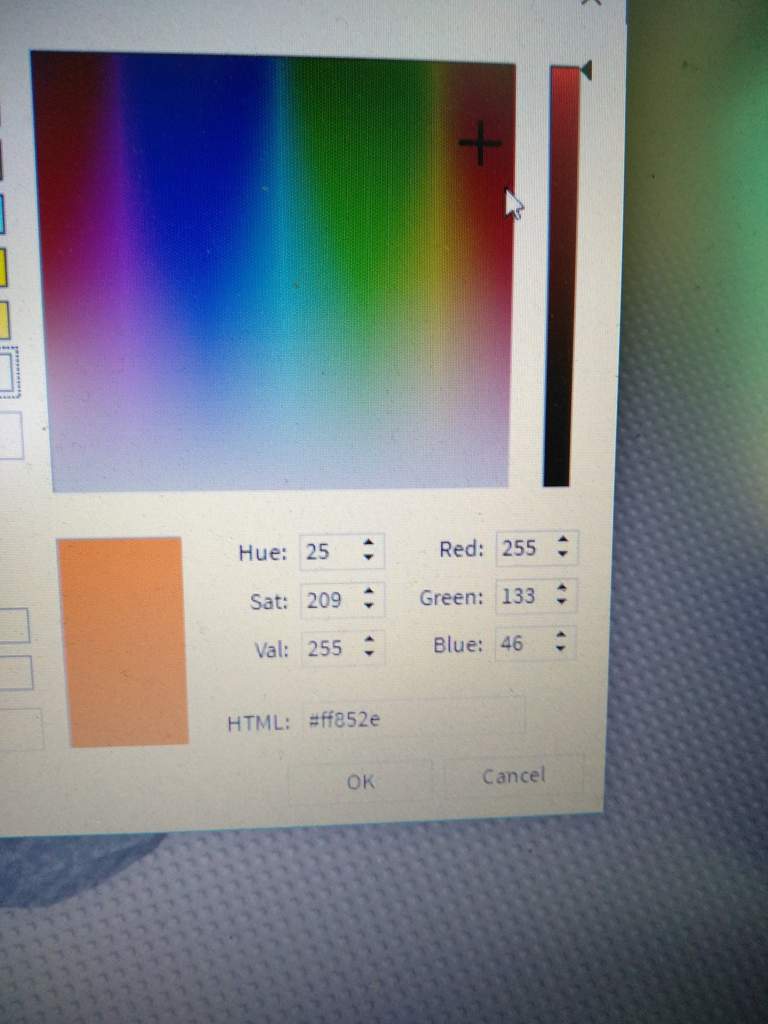
Pick a blue, or any water color you'd like.
Make the material Neon.
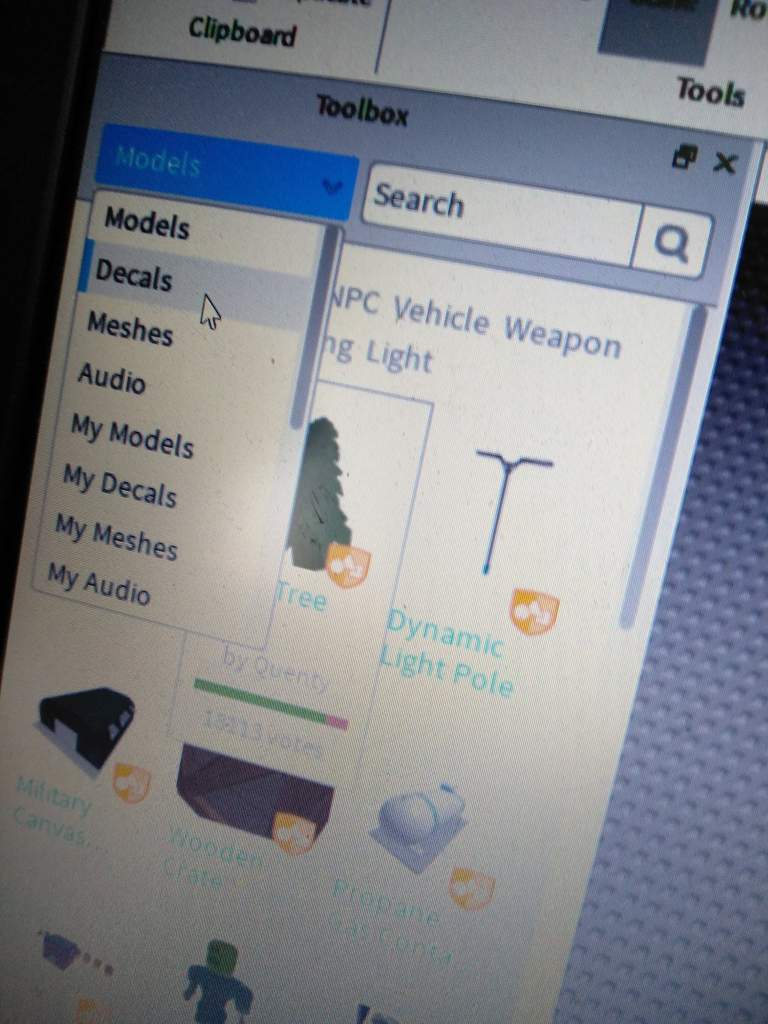

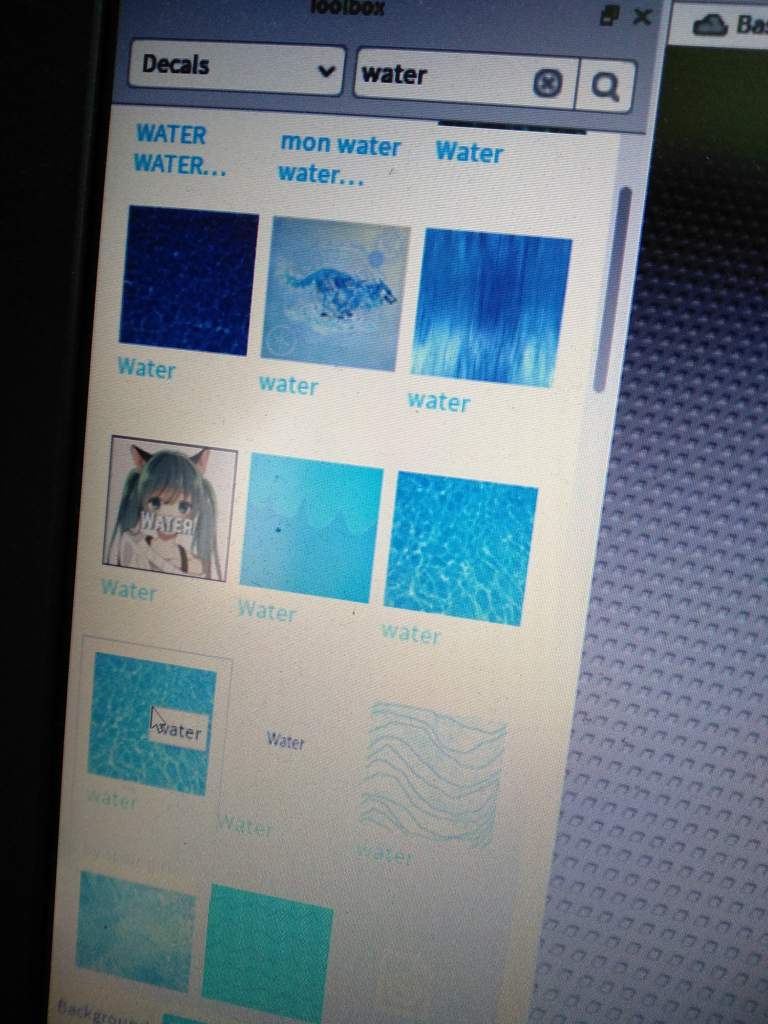
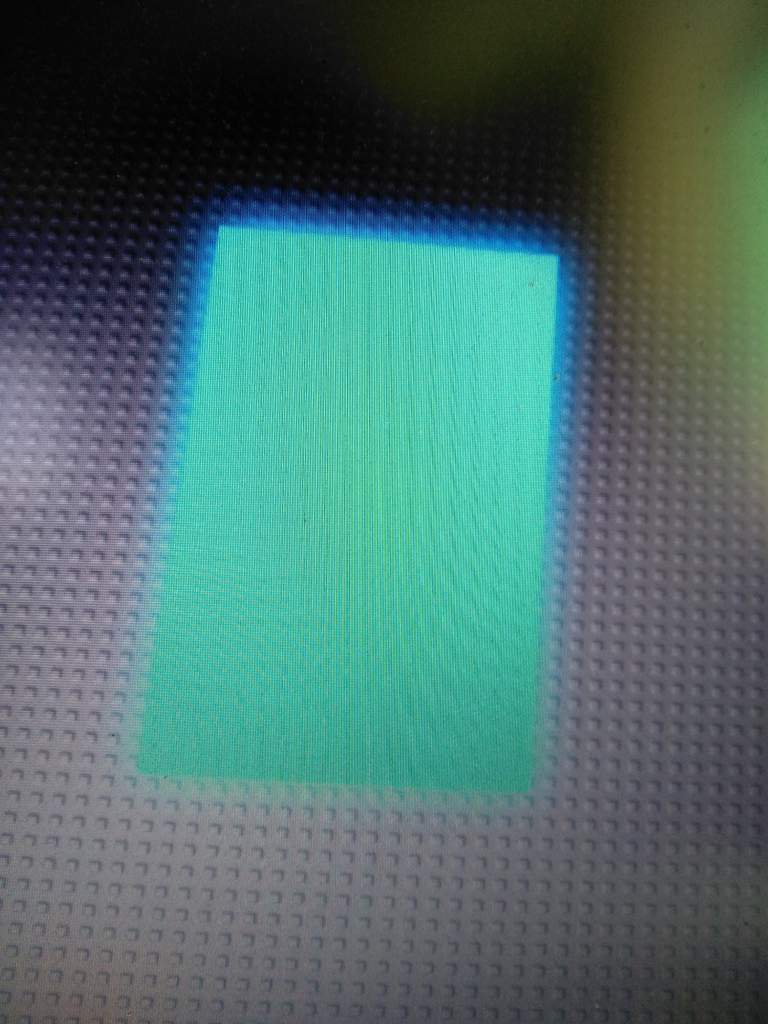
Choose a good decal.
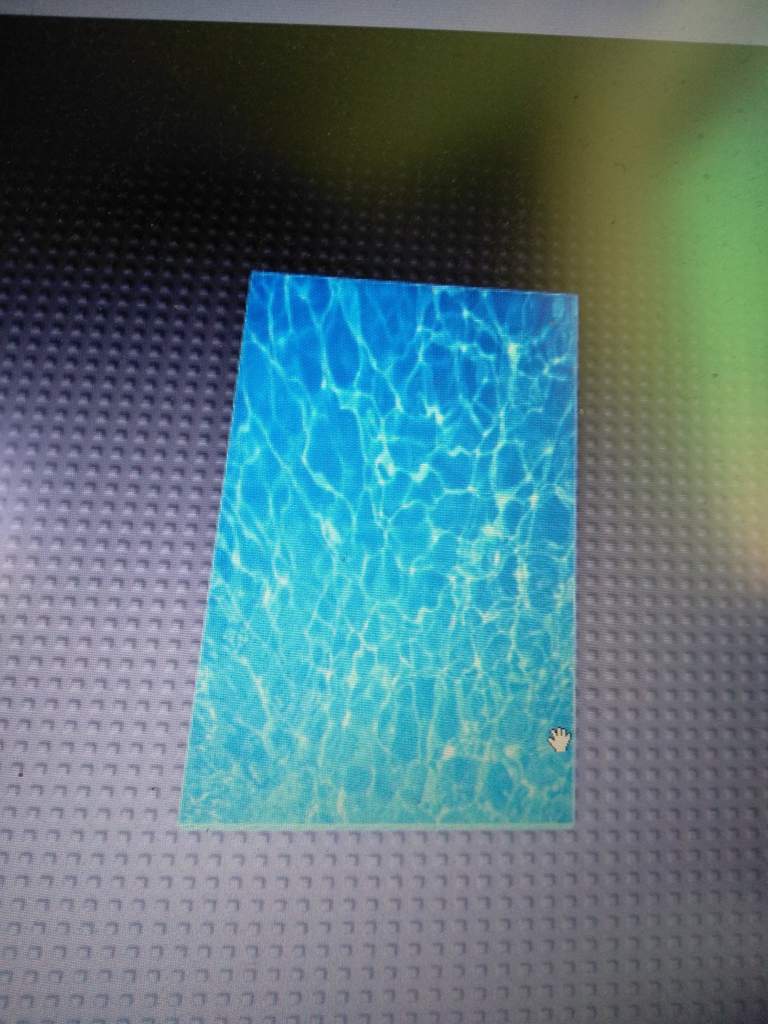
Place it on top of your part.
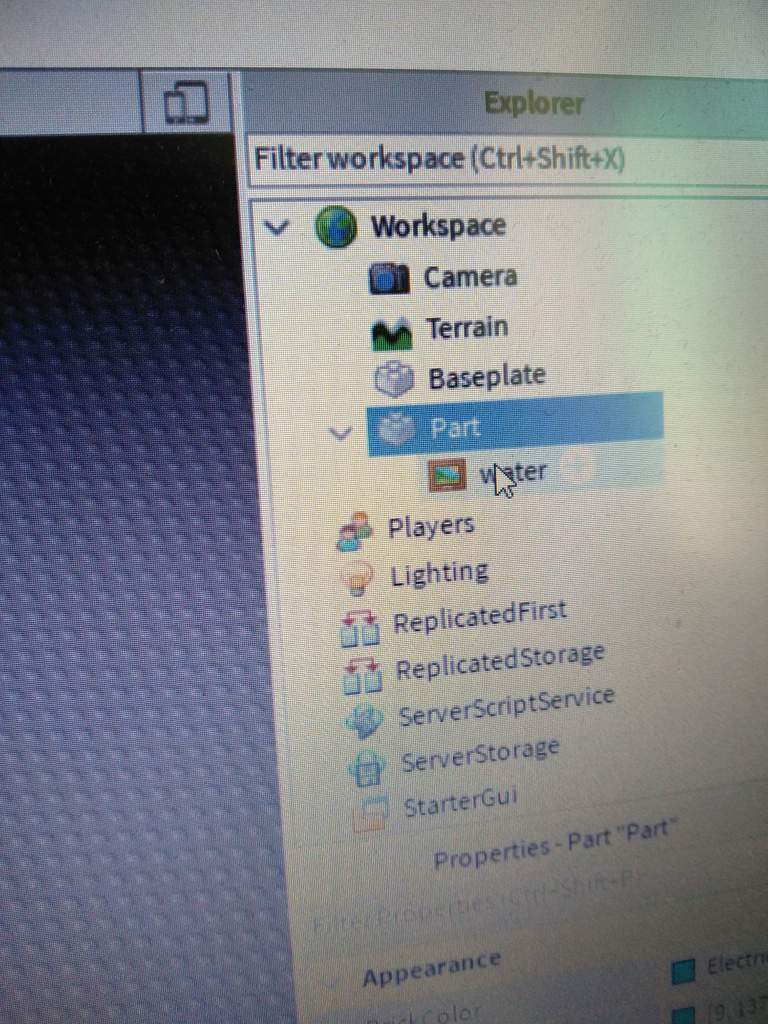
Open the part and select the decal.
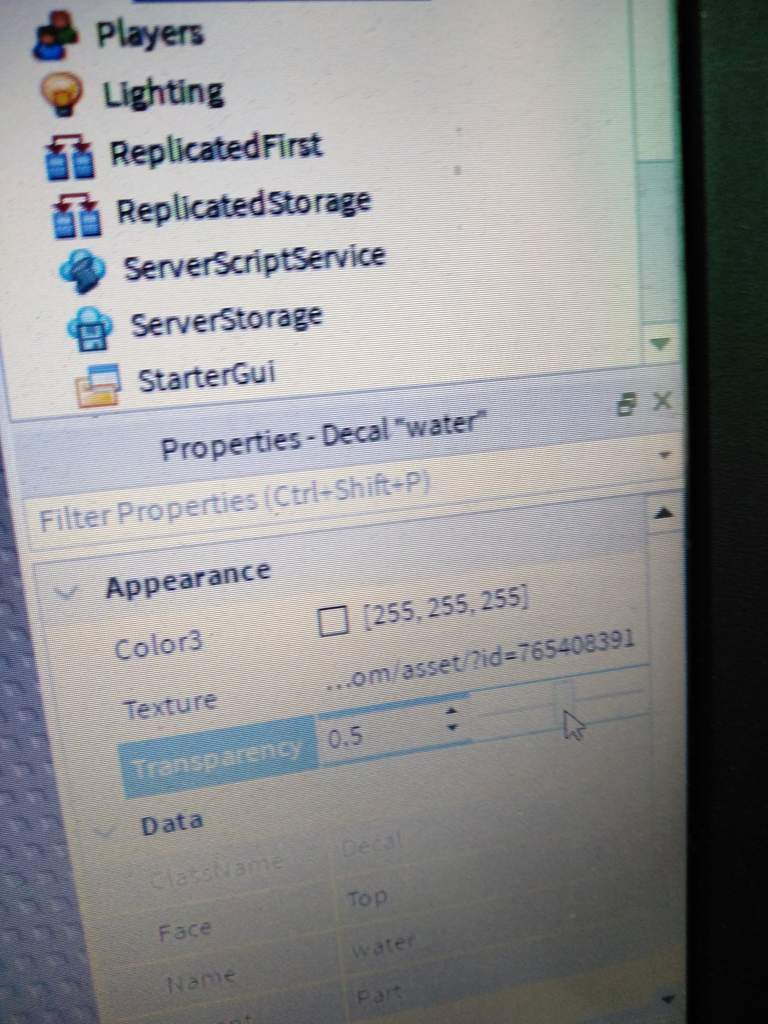
Make it transparent as much as you need. (I reccommend 0.5-0.7)
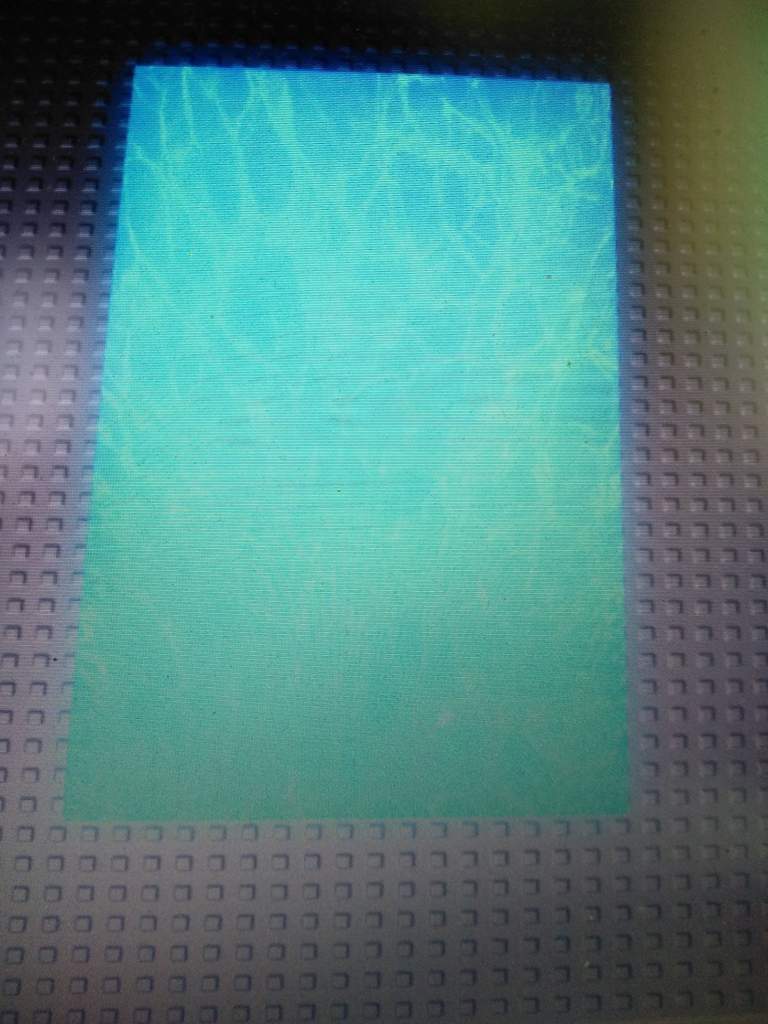
And you are done! You can add particles and much more, I'll make more tutorials soon.
-I'd reccommend to check out the water tutorial to understand more! :sparkles:
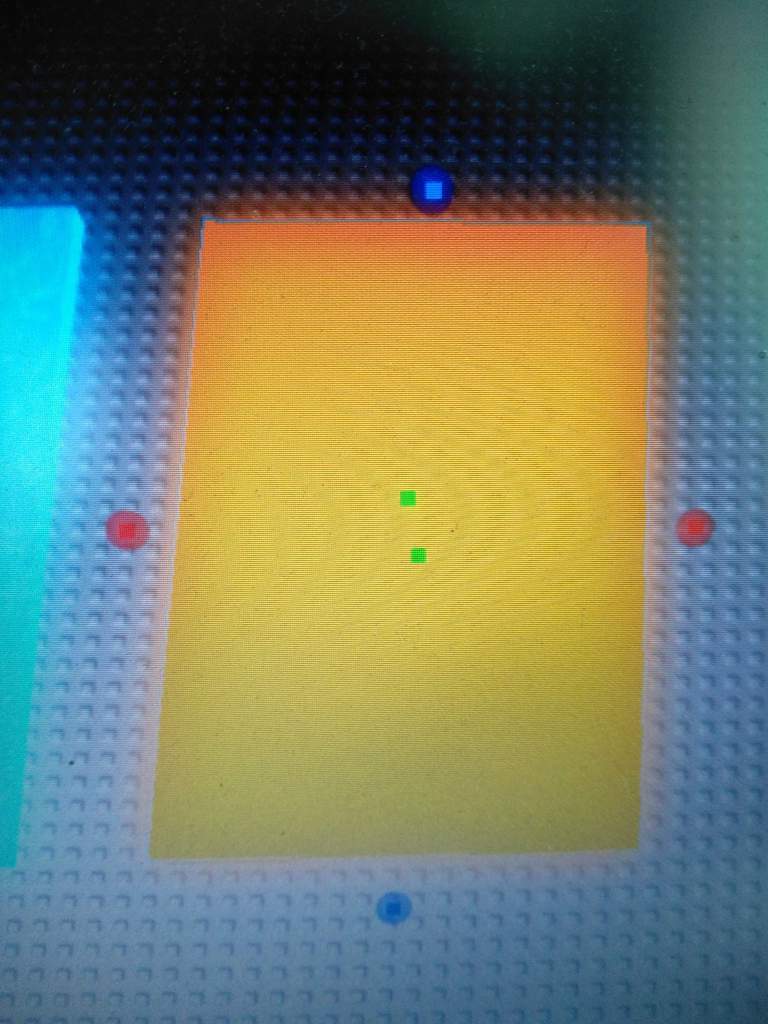
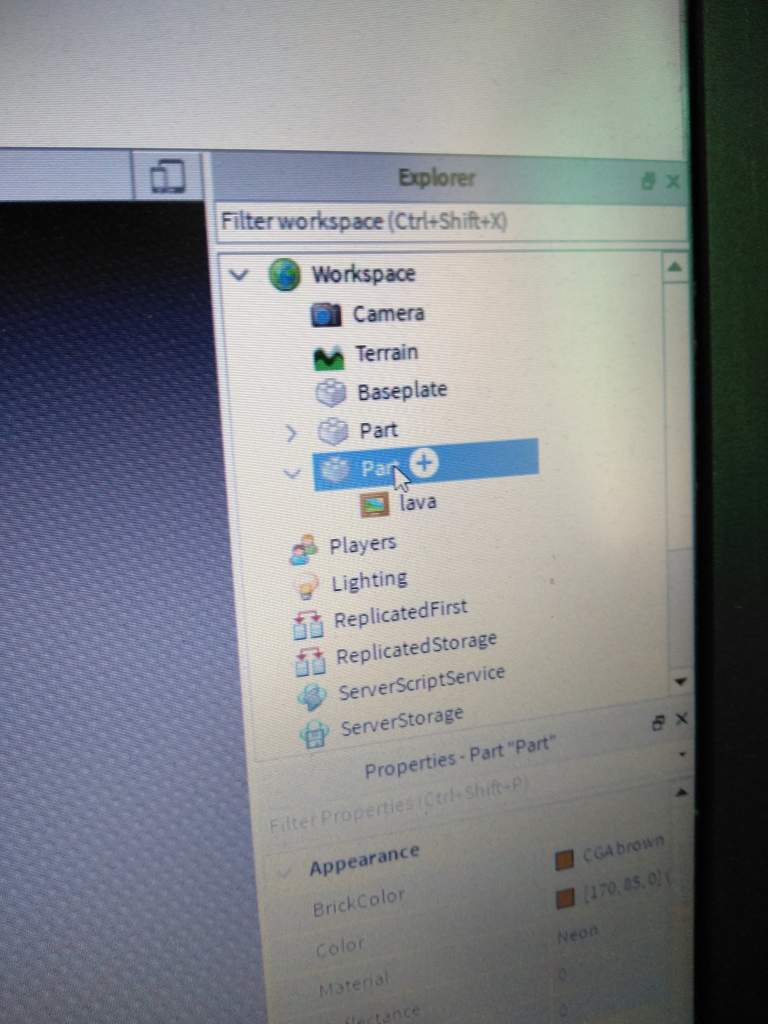
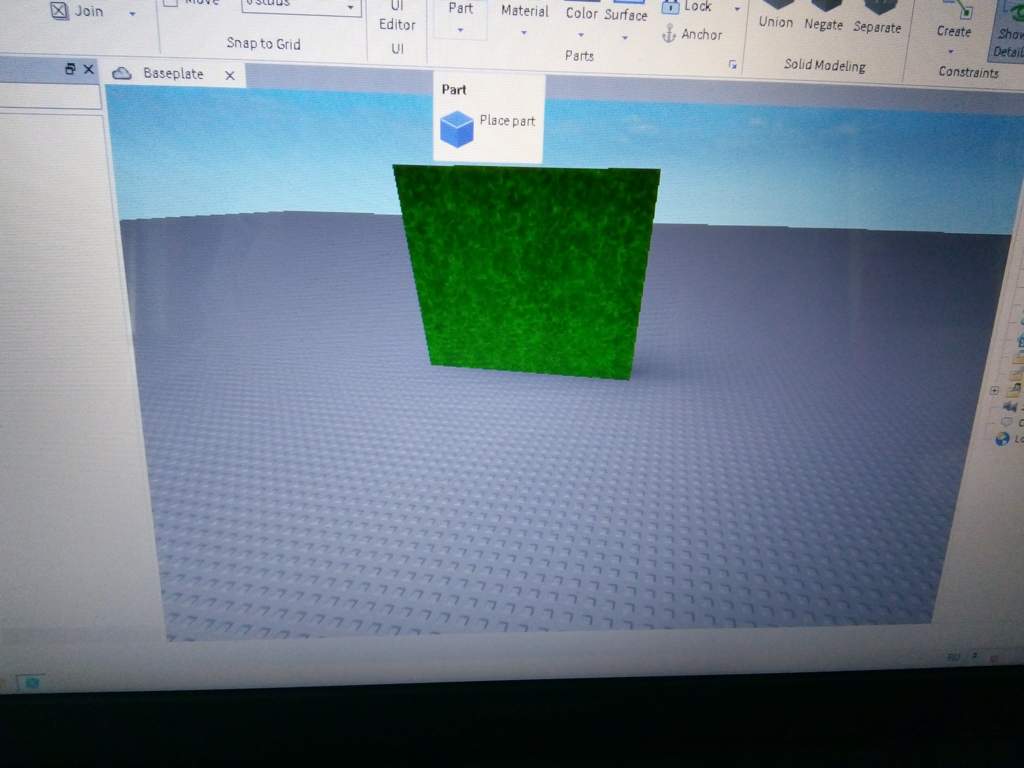
Make an orange part. (Keep the material Neon)
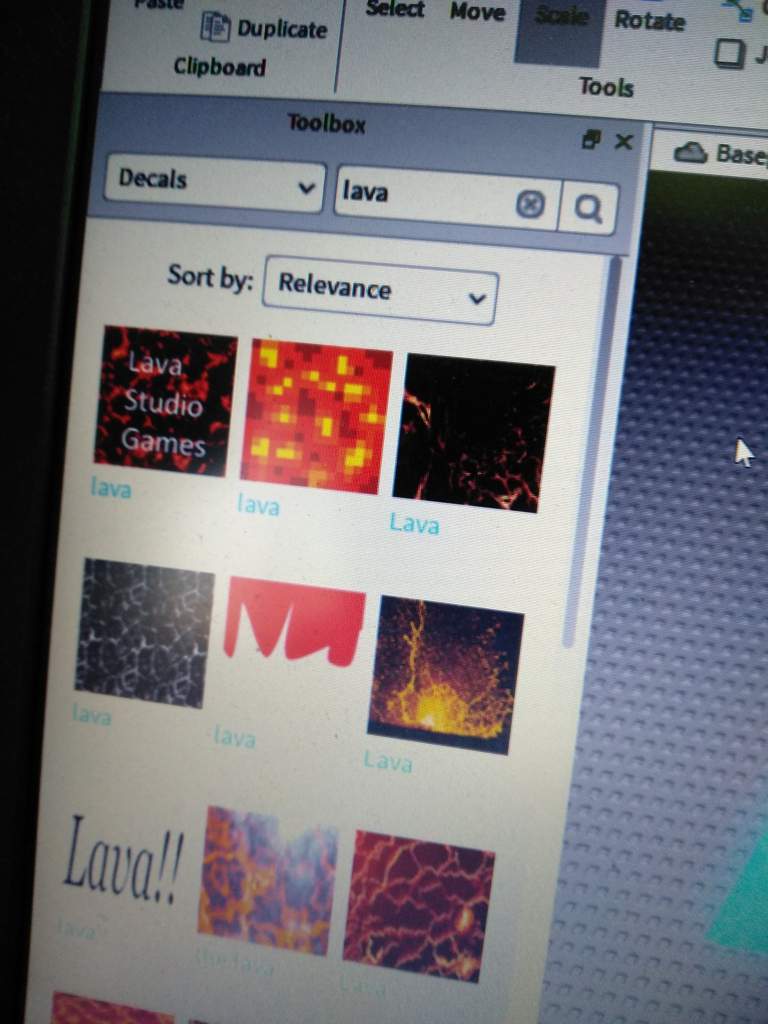
Write Lava in the decals and choose one.
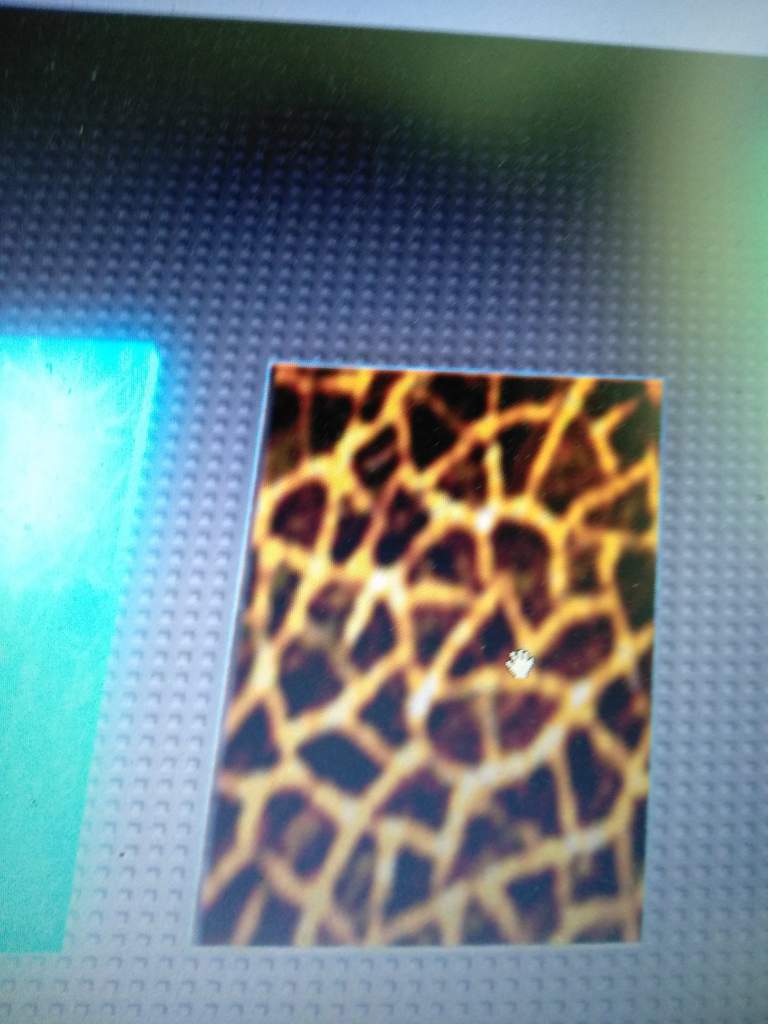
Place it on top of your part.

Make it as transparent, as you need again.
(If you don't fully understand how, check the water tutorial out, where I explain it a little more.)
And there you have it.
[Adding some details]
-This is not important anymore, it's just something to make it look a little better.
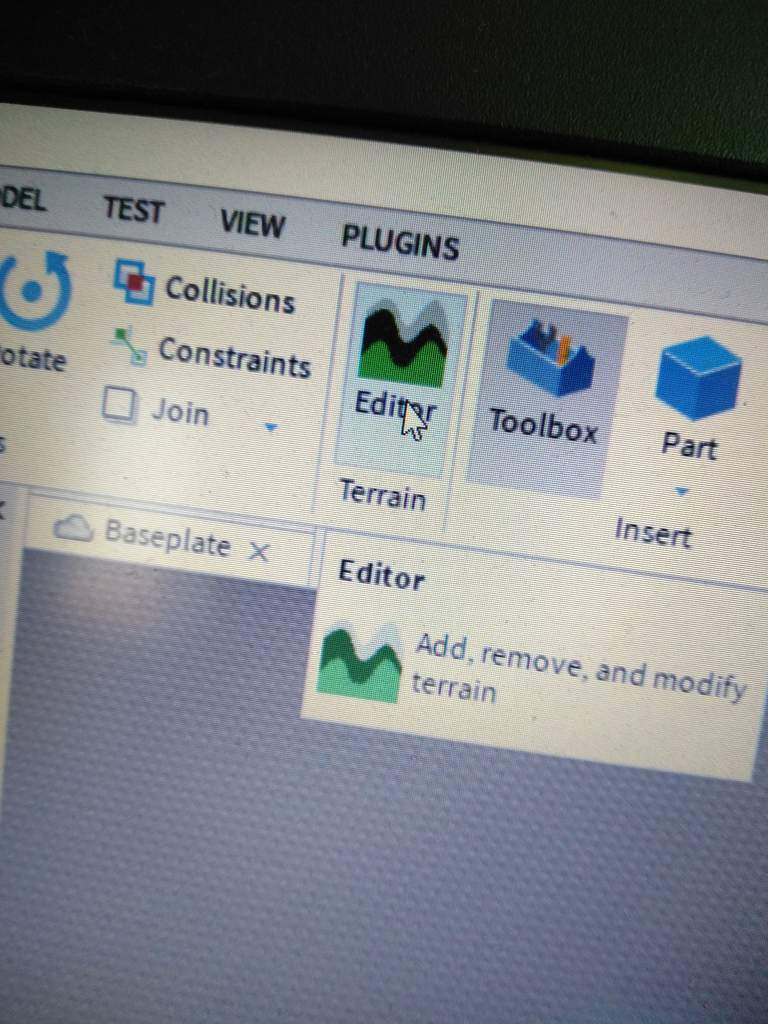
Add some rock terrain, start by selecting the terrain tool.
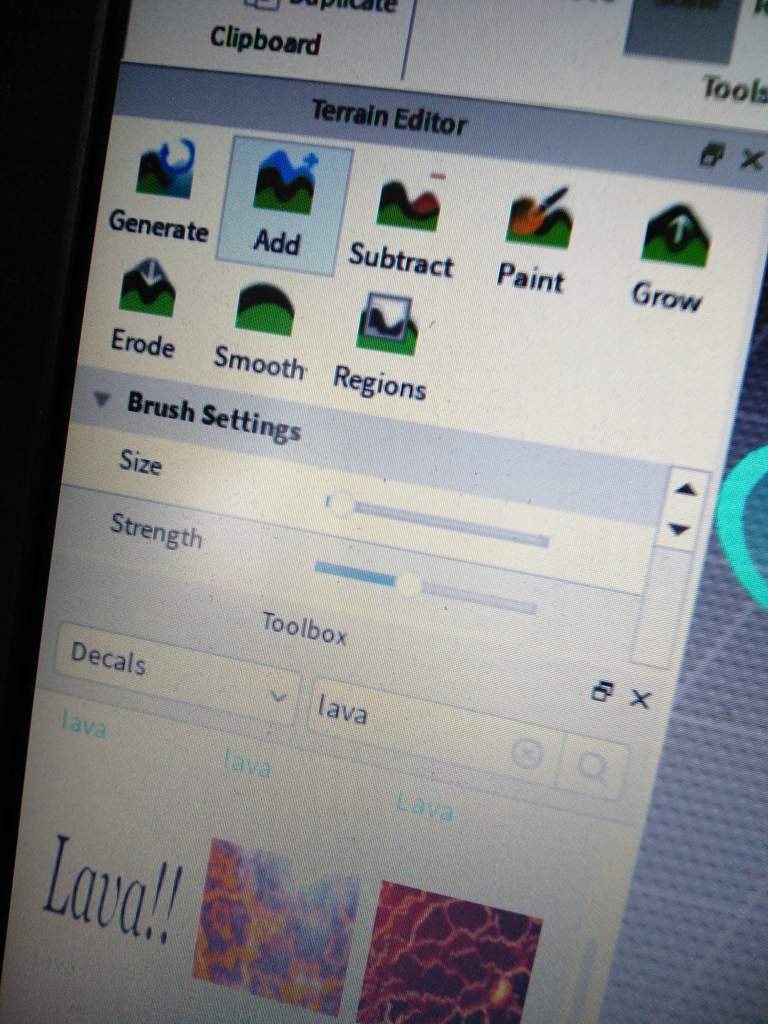
Pick the size, and also the terrain. I prefer rock. Anyway, grass, and other terrains might also look good.
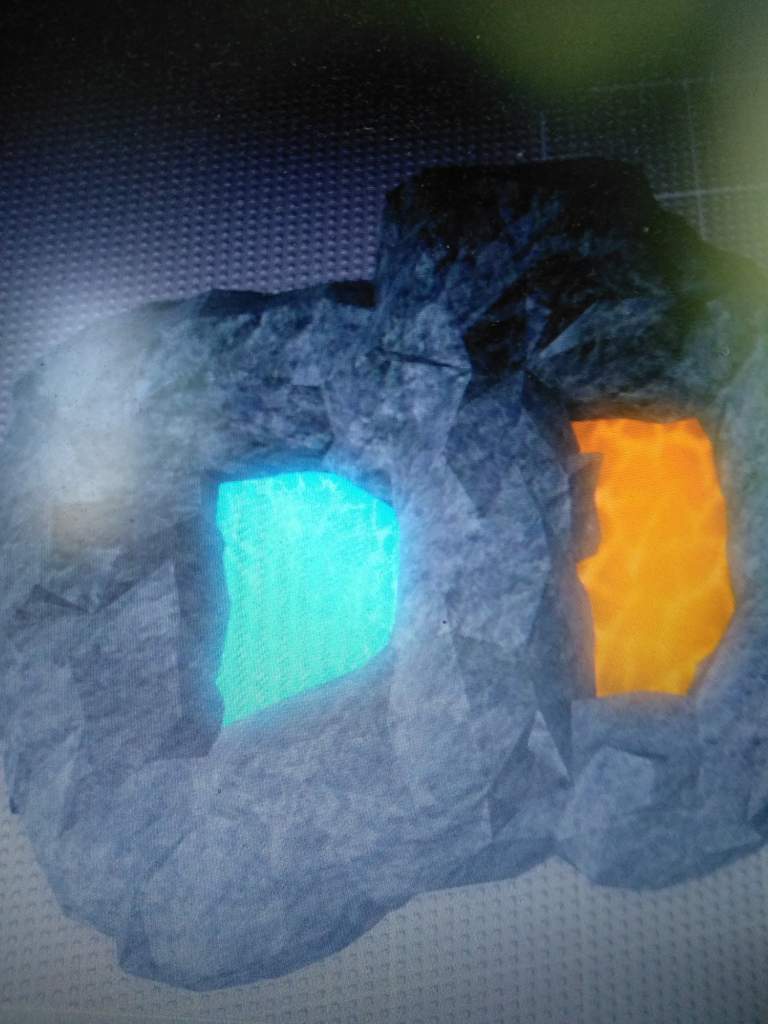
As soon as you're done, it might look something like this.
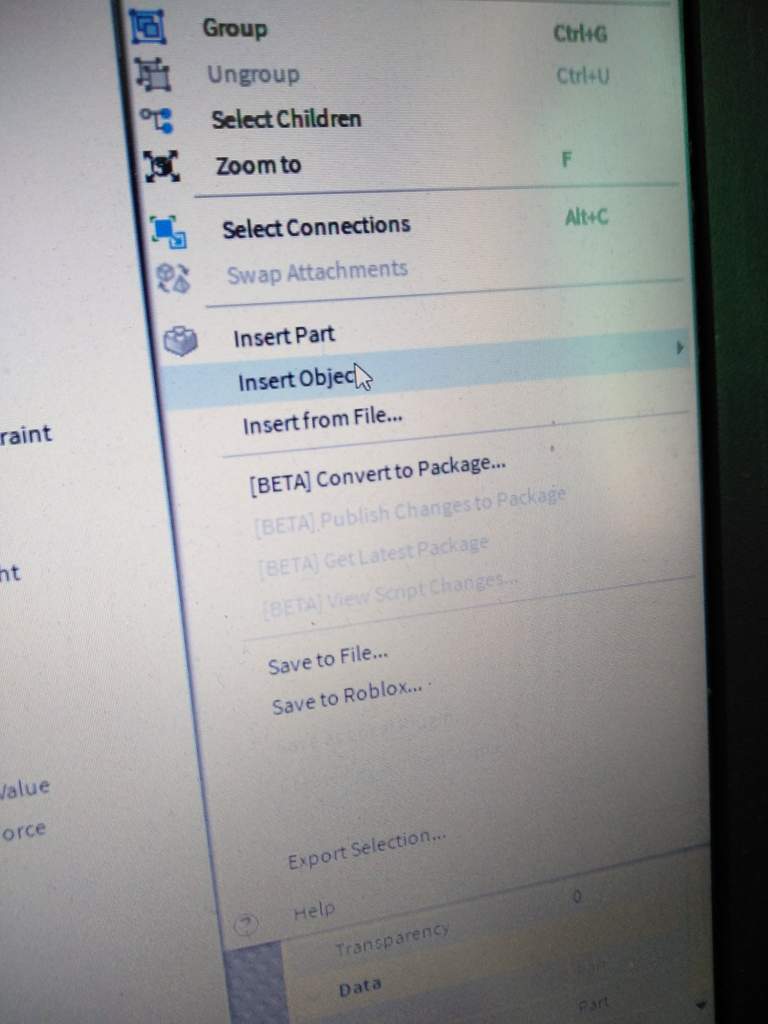

The last thing you can do is add a glow, particles, or anything. Just right click on the part in the workspace, choose Insert object and select a point light. (I picked a spot light by an accident)
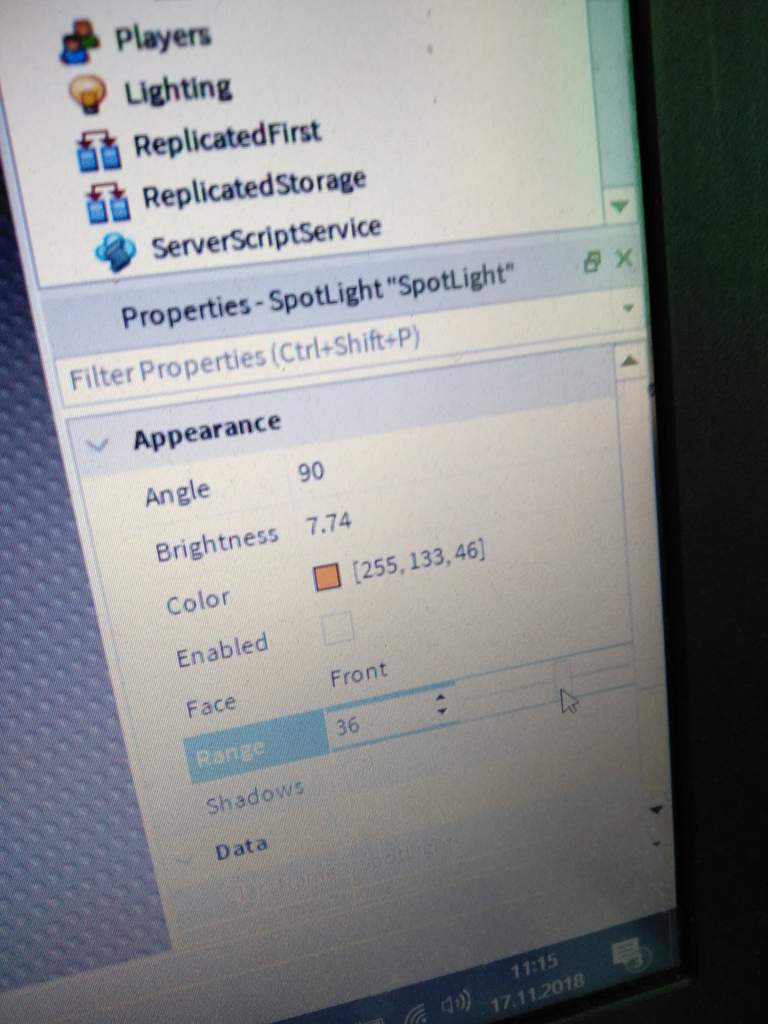
Then just adjust the light color and the range, brightness, etc.
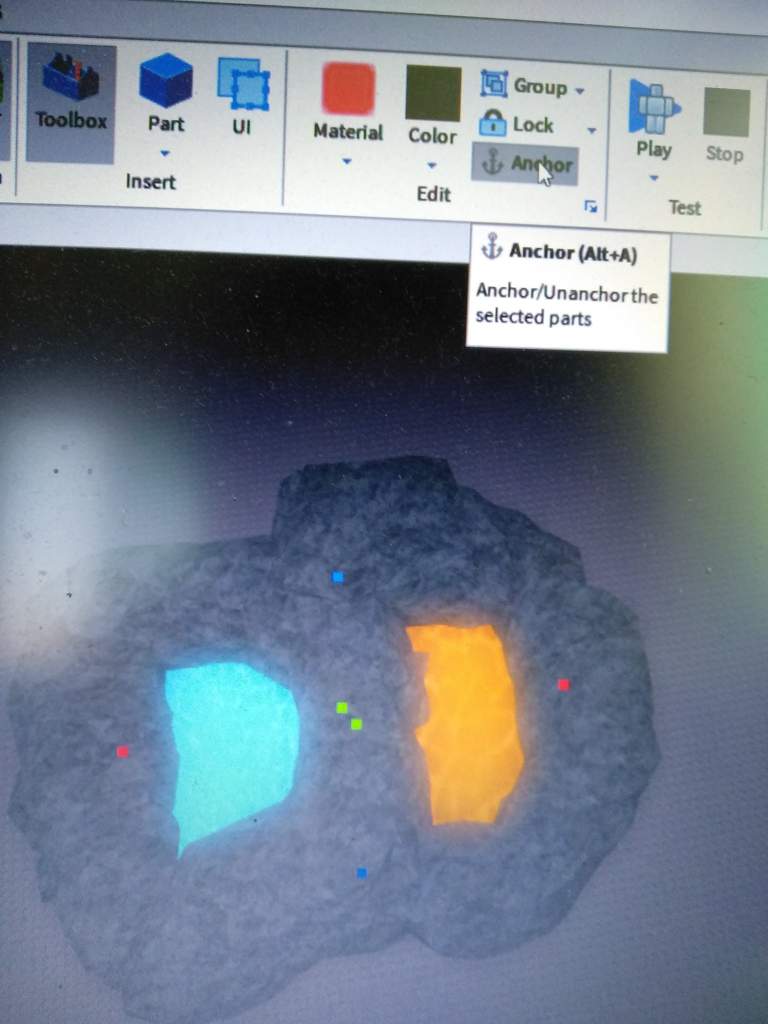
The last step is to just Anchor both parts. Select both of them and click Anchor. (So they will be in one place and won't fall, etc.)
You are now done! Sadly, this post already has 25 pictures, which means that I can't show you the finished product. You can see it on the background of this post tho, so yeah. Baii! :sparkles:
Как сделать дырку в объекте Roblox Studio

Сейчас вы узнаете, как в Roblox Studio сделать дырку в объекте.
Всё делаем РОВНО по ИНСТРУКЦИИ!
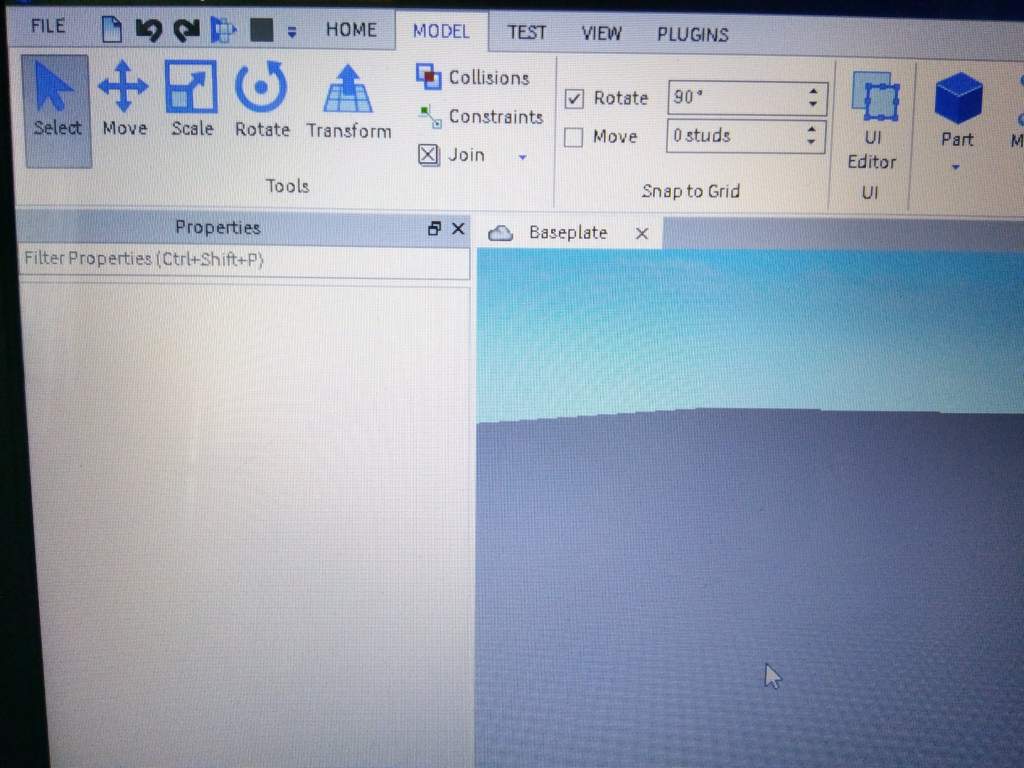
1. Перейдите в вкладку "Model"
2. Создайте ваш объект или используйте ваш ранее созданный
3. Создайте второй объект и подравняйте его такой формой, чтобы насквозь проходил через блок.
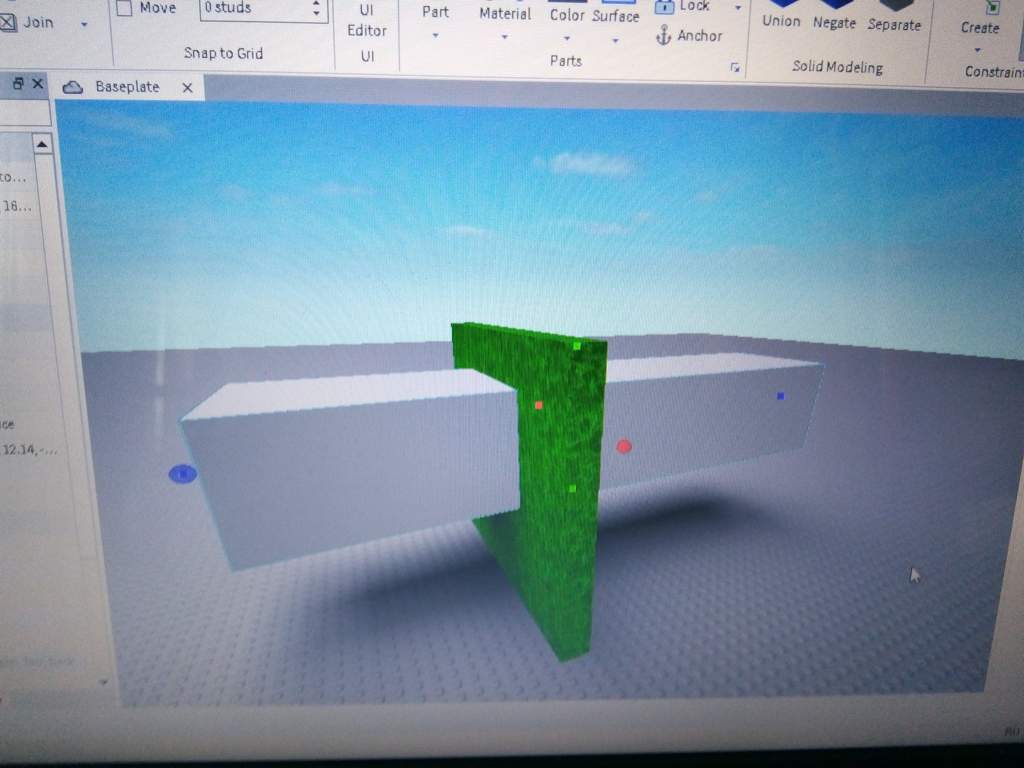
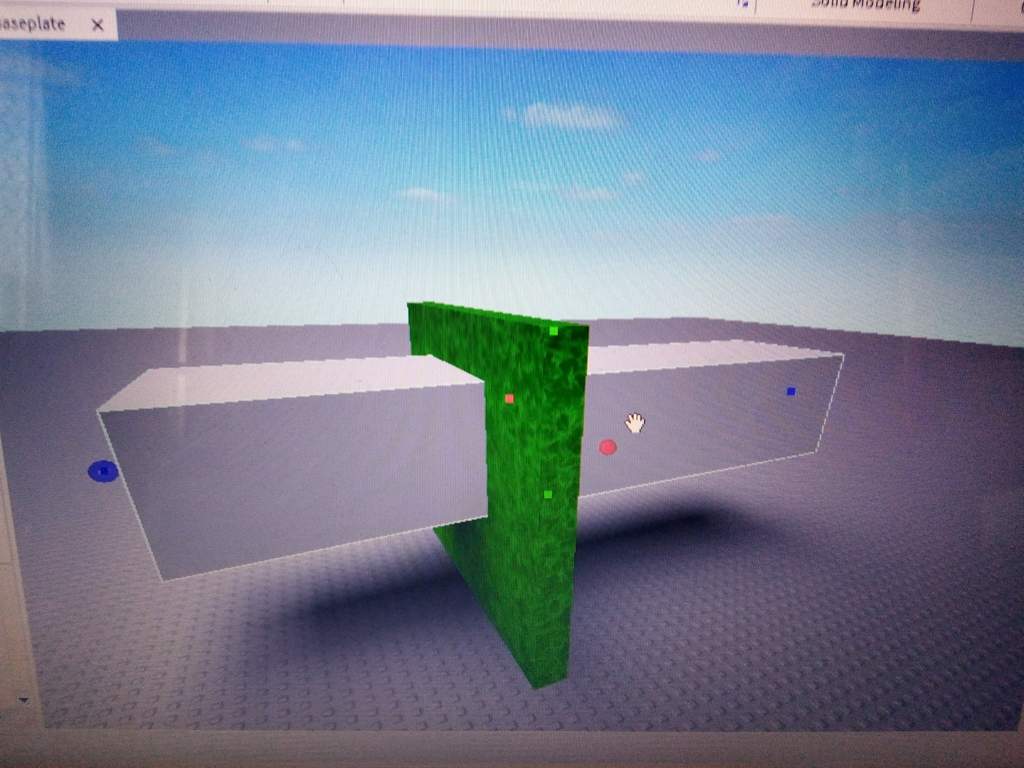
4. Выделяем объект который мы создали, чтобы он проходил насквозь.
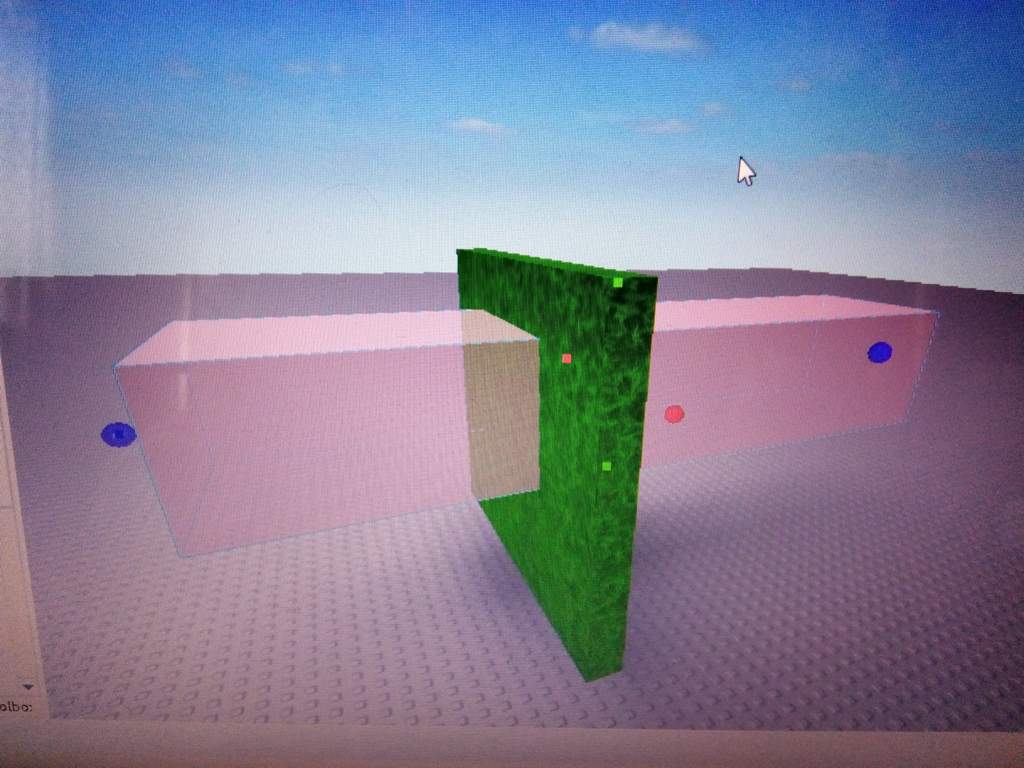
5. Ищем вверху кнопку "Negate" и нажимаем на неё.

6. Он загорается красным и в Обозревателе(Explorer) подписан как "NegativePart"
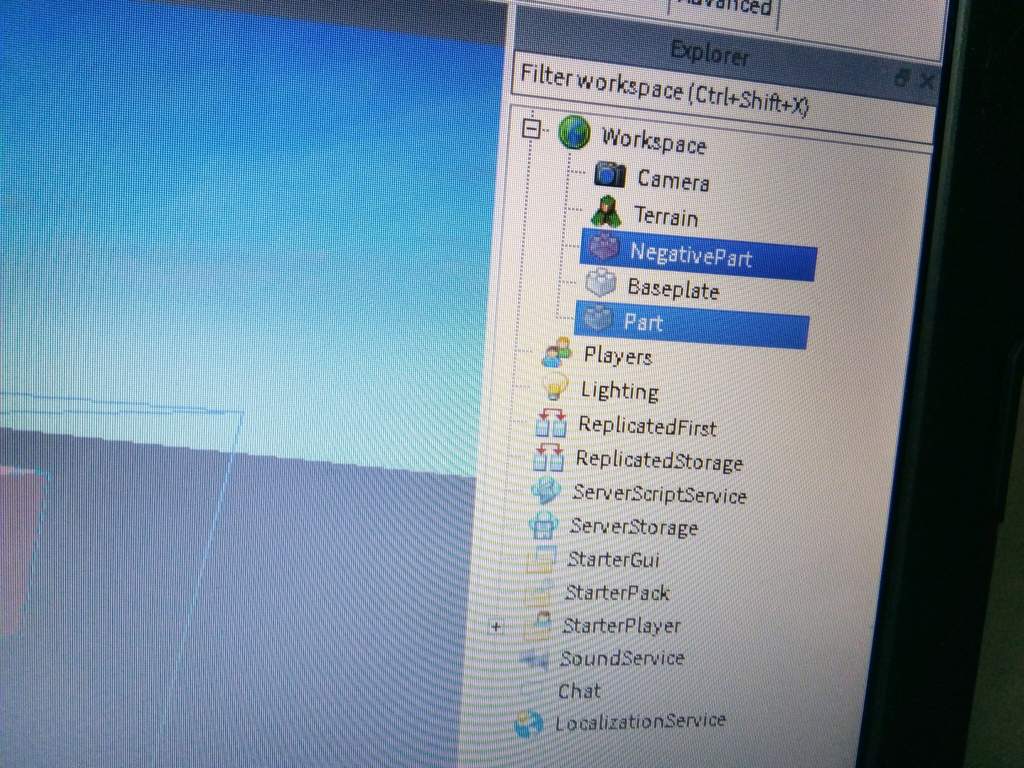
7. После этого выделяем 2 объекта - NegativePart(Красный объект) и сам объект на котором должен быть вырез. Сделать это можно нажав Ctrl + Кнопка мыши по объектам.
Как сделать воду в roblox studio


Иван,мне нужно именно цвет воды изменить. Не подскажешь где конкретно эта кнопка?


Как сделать воду в roblox studio

Управление:
Передвигаться - WASD
Поворачивать камеру - ПКМ и движение мышкой
Перейти к обьекту - выделить его в Explorer и нажать F
Им можно просто выделять незалоченные объекты и перемещать их свободно по трём осям.
Им можно выделять незалоченные объекты и перемещать их относительно одной оси.
Им можно выделять незалоченные объекты и изменять их размер относительно одной оси.
Если хотите подробно узнать как настраивать текст, то давайте наберём 3 лайка на этом туториале чтобы я понял, что вам это действительно нужно.
Надеюсь вам помог этот туториал.


Если на этом туториале наберётся 5 лайков то я напишу скрипт на кнопки добавляющие в определённые команды (как в Jailbreak).
Читайте также: