
Где конюшня вудлендс зельда
Обновлено: 17.06.2024

Не секрет, что у вышедшего из комы главного героя The Legend of Zelda: Breath of the Wild постоянно возникают проблемы. Доходит даже до того, что собственный дом он себе покупает лишь спустя пару недель (но хотя бы не в ипотеку) путешествий по Хайрулу. Поначалу кажется, что хорошим источником заработка может стать продажа драгоценных камней, и даже высокий рост вкупе с отсутствием бороды не мешают Линку бегать по горам с огромным молотом. Но на поздних стадиях Breath of the Wild почти все полезные ископаемые становятся слишком важны для крафтинга, а их продажа перестаёт быть сколь-либо адекватным поступком. Так что же делать? Игроки нашли решение! Линк может быть и не Лебовски, но кое-что в боулинге он всё равно понимает, а на просторах Хайрула есть место, где за каждый «страйк» платят по три сотни рупий. Можно стать профессиональным спортсменом и жить без забот! Хотите разбогатеть? Тогда смотрите видео наших коллег из IGN.

Косплей на принцессу Зельду из The Legend of Zelda: Breath of the Wild

Фанат The Legend of Zelda: Breath of the Wild сумел пройти гонку всего за 23 секунды
Про лошадей, узду и седло

1) Набор под цифрой 1 получается просто за регистрацию любой лошади в конюшне.

2) Набор под цифрой 2 падает с амиибо Линк-Всадник.

3) Набор под цифрой 3 покупается у Килтона в Монстрторге (Спец условие: необходимо усмерить 2-3 чудища у каждого по разному, тогда этот набор появится у Килтона).

4) Набор под цифрой 4 можно получить выполнив задание "Королевская лошадь" в конюшне "Окольная" (4,1 и 4,2 карта и npc что выдаёт задание; также в ходе выполнения того же задания можно получить белую королевскую лошадь с весьма неплохими данными).


5) Набор под цифрой 5 можно выиграть в мини игре в конюшне "Подгорная"; чтоб получить полный набор мини игру нужно пройти 2 раза, второй раз нужно пройти идеально, чтобы начать мини игру необходимо подьехать к npc на лошади и заговорить с npc с лошади (5,1 и 5,2 карта и npc что заведует мини игрой)


6) Набор под цифрой 6 можно выиграть в мини игре в локации "Конный лучник" недалеко от конюшни "Подгорная";чтоб получить полный набор мини игру нужно пройти 2 раза, второй раз нужно пройти идеально, чтобы начать мини игру необходимо подьехать к npc на лошади и заговорить с npc с лошади (6,1 и 6,2 карта и npc что заведует мини игрой)


7) Там же в "Конном лучнике" задание на получение огромной лошади (6,3 и 6,4)


8) Как сменить узду и седло: в некоторых конюшнях есть девушка которая работает у стойла трёх лошадей, к ней нужно подъехать на лошади и поговорить, тогда откроется меню смены седла, узлы, причёски.
9) Ещё хотелось бы рассказать про Эпону, эта лошадь со своей уздой и седлом падает с Amiibo Линк TP.
2.4 Dueling Peaks Goodies
Progress at this point
New in this section
Optional: Korok Seeds
For the 59 seeds located in the Dueling Peaks Tower region, we have three options:
Optional: Shrines
There are a total of 9 Shrines of Trials located in this region, some of which you may have completed on your way. One Shrine cannot be accessed at the moment (Lakna Rokee Shrine), as it requires additional completion goals to access. We will return to this Shrine in the next chapter. As usual, these shrines have a written and video guide to help you:
Breath of the Wild Walkthrough – Dueling Peaks
The main portion of the West Necluda region is east of the Great Plateau. If you choose to follow the Seek Out Impa main quest story, it will lead you in this direction.
2.3 Kakariko Village
Progress at this point
New in this section
Optional: The Priceless Maracas
Along the way, just past the Kakariko Bridge, you will encounter a character known as Hestu. This will trigger a sidequest titled The Priceless Maracas, which is the formal introduction to the Korok Seed Collectibles.
We have two styles of guide for this specific quest:


Continue northward until you reach Kakariko Village. Once you arrive in town, you should again run around and talk with as many of the characters as you wish. There are many side-quests and goodies to grab here, though all are optional and listed below.
Optional: Armor Shop
Enchanted can be found along the northernmost path of the village. Head inside to browse the various armor pieces. Sold here is the Hylian set, a well-rounded set of armor which has 9 total defense, though no additional effects. You may already gave the Hylian trousers from a chest found on the Great Plateau. The Stealth set is also sold here, which has 6 total defense, though has the added effect of increased stealth. The caveat here is that it costs considerably more, so purchase when you have enough Rupees, though this particular armor set is not too useful right now.
If you need more Rupees, you can sell to the store-owner here, or any store owner or travelling merchant you come across. The best items to sell right now are various gemstones (Opals, Rubies, etc.) and enemy drops, as these have little use to you right now. It may be an idea to hang on to some of each, as they can be used for armor upgrades later on.
Optional: Ta'loh Naeg Shrine
This shrine can be found on top of a cliff at the north end of town. We have two methods for completion, if you require assistance:
Optional: Kakariko Village Side Quests
There are two guards blocking the pathway, but after talking to them, they will see your Sheikah Slate and let you pass. Climb up and enter the house here to meet Impa. Speak with Impa, who says much of what we just learned from the King on the Great Plateau. Impa will then guide you towards the direction of the Hateno Village.


At this point, even if you are primarily following the main quest, things really begin to open up as there are multiple primary objectives, which can be done in any order you like (or even skipped entirely). You can also partially complete an objective, go do something else, and come back later (or never finish it either). The freedom to play as you please in this game cannot be overstated. Therefore, do not consider this a linear walkthrough. If you prefer to head in a different direction, simply select the relevant chapter and have at it. Your Adventure Log will help you keep track of any Main Quests, Shrine Quests, or Side Quests you have located, including ones you have already completed.
For the purposes of our walkthrough, however, we recommend to head to Hateno Village as the next step. In our opinion, this is the closest, easiest, and most rewarding direction to head at this point.
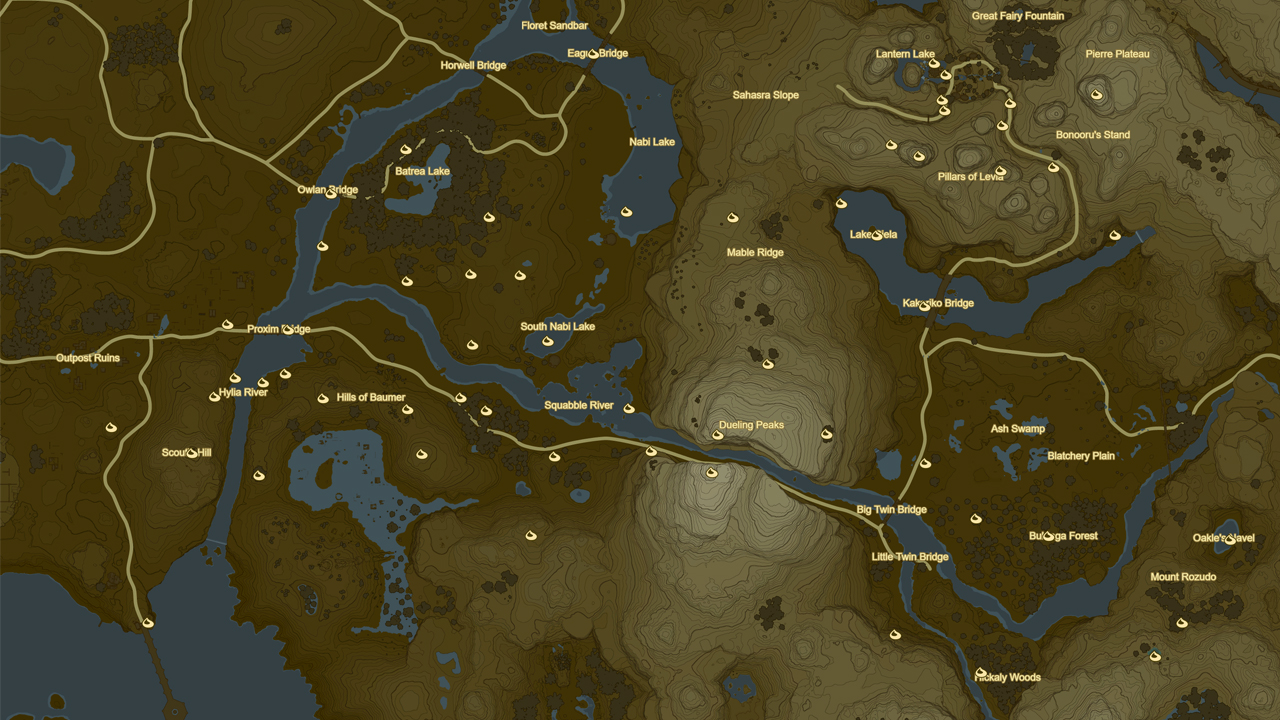
If you are looking for more things to do in the Dueling Peaks region, check out the next chapter, filled with all the optional objectives to complete in this region. Complete as much or as little as you like; you can always refer back to this section when you feel like it. Otherwise, all details discussed in this chapter can be found on our Interactive Map; just toggle the objectives you are looking to complete, whether it be Shrines, Korok Seeds, Overworld Bosses or more.
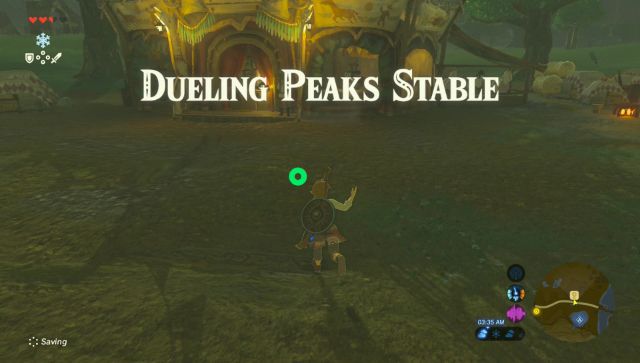
2.2 Dueling Peaks Stable
Progress at this point
New in this section

There are a few optional things to complete in and around the stable; these can be completed at any time, do so as you wish. When you are satisfied, continue forward with the main quest, Seek Out Impa.

Optional: Dueling Peaks Stable Side Quests
There are two optional side quests to complete at this stable, both of which can be completed with relative ease. We have two formats for these quests, written and video, so choose the style that suits you.
Optional: Horse Taming
Once you have tamed the horse, take it back to the stable, where you will be able to register and name the horse for a small price. This will also saddle-up the horse, which can be customized if you obtain additional saddles and bridles later in the game. Up to 5 horses can be registered at the stable, and you can retrieve your horses from any stable in Hyrule.
2.1 Dueling Peaks Tower
Progress at this point
New in this section
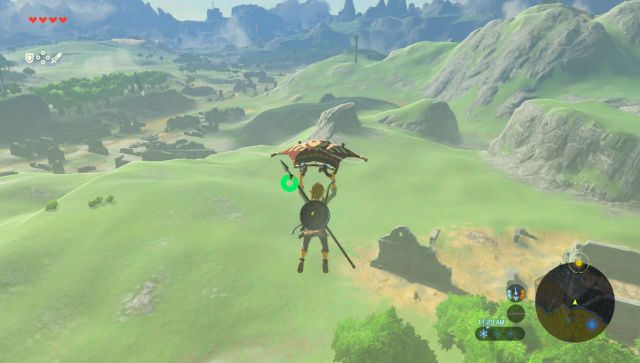
Once you are ready to leave the Great Plateau, be sure your main quest objective is toggled as Seek Out Impa so that marker appears on the map. Run over to the east end of the Great Plateau or just warp over to Ja Baij Shrine. From there, use your newly acquired Paraglider to leap off of the Plateau, heading eastward.
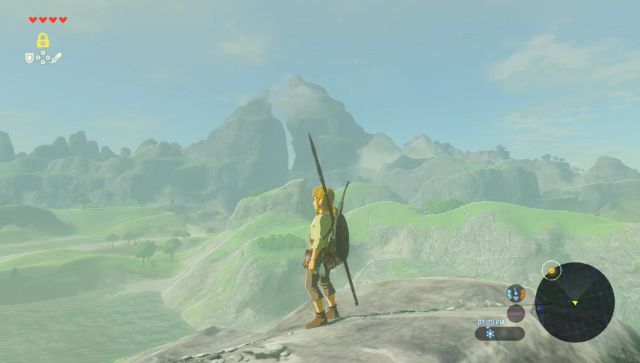
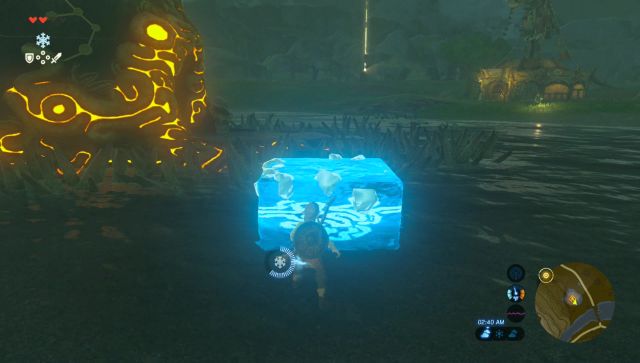
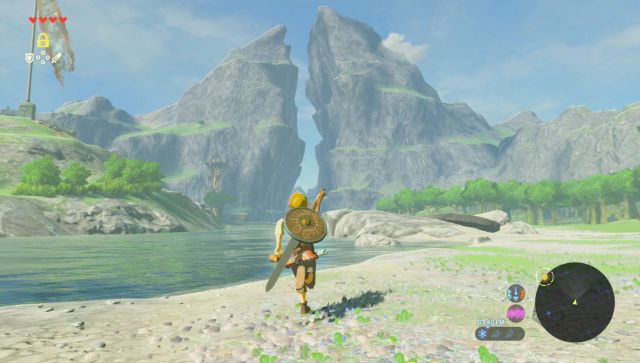
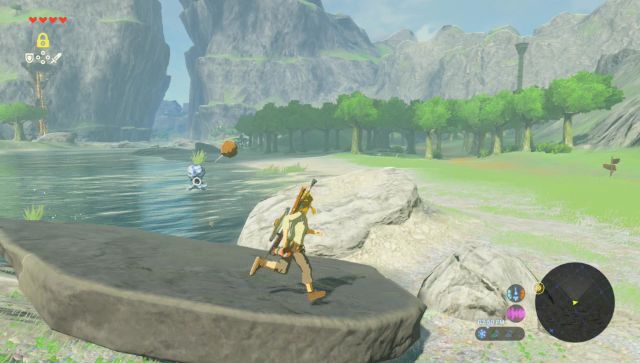
Along the path you will come across the Bosh Kala Shrine. You can tackle the shrine if you so choose (click the link to open a page with a mini-walkthrough), but definitely activate it so you can use it as a warp point in the future. Make your way eastward, crossing the Proxim Bridge. Continue making your way towards the massive rock structure in the distance. As you draw near you will see the Tower, located just north of the shallow river. Swim across, or use Cryonis to raise ice towers in the water which you can leap across, to reach the north side, but beware of the enemy Octoroks that are in the water. You can defeat them by deflecting a rock back with your shield. Be sure to pick up any Octo Balloons they drop, as this item is useful for solving puzzles. Dropping an Octo Balloon on something will lift even heavy objects into the air.


Additionally, doing so will unlock the Sheikah Sensor. This feature will cause the Sheikah Slate to react whenever there is a shrine nearby that you have yet to visit. If you move in the direction where the reaction is strongest, you can usually find the Shrine, though some are more difficult to locate. For an overview of all shrines, use the Shrine Locations page.
It is recommended to complete as many shrines as you have the patience for. Feel free to get sidetracked and roam far and wide completing them, as they often contain additional rewards, not just Spirit Orbs. The main quest will wait for you!


Где найти Эсту в Breath of the Wild? Гайд по «Зельде»

Одной из проблем «Зельды» для Nintendo Switch и почившей с миром Wii U является постоянная нехватка пространства в инвентаре. Но в игре предусмотрен персонаж, который поможет добавить дополнительные слоты для снаряжения. К сожалению, местоположение регулярно меняется в зависимости от регулярности встречи. Рассмотрим, где в Breath of the Wild найти Эсту.
Впервые данный NPC появляется с юга от деревни Какарико. Потребуется взять задание, выполнить его и вернуться, чтобы получить прибавку к размеру инвентаря. Слоты под снаряжение помогут набирать больше вещей для их последующей транспортировки, хранить ресурсы для крафтинга и т. д.
Затем данный товарищ отправится в западном направлении, его вы встретите у Хилии. Повторяем процедуру ещё разок, выбиваем себе эффектные бонусы для улучшения характеристик.

Где найти Эсту в Breath of the Wild? Советы геймерам
Третья локация – конюшни Вудлендс, расположенные к югу от Корока – лесного массива. Последнее местоположение – справа от меча Мастера в лесу Корок.
На этом улучшение завершится, однако накопленных ячеек вам вполне достаточно для дальнейшего прохождения кампании. Укажите ниже, какие ещё материалы по игре вам интересны.
Читайте также: