Ultrakill секретные уровни
Обновлено: 02.07.2024
There are two confirmed secret levels in the currently released ULTRAKILL Prelude.
The First Secret Level. (connected through 0-2.)

Blue skull pickup.

Red skull pickup.
Using the red skull to navigate the player must find the red pedestal and place the skull on it, which will reveal another room with the level exit.
The Second Secret Level. (connected through 1-1.)
The secret level is a series of Puzzles. Completing each puzzle set will unlock the door to the next room after the last room's puzzles are completed the level-exit will open. There are no enemies in this secret level.
Step by Step Guide [ ]
See the Steam guide for more comprehensive guidance.
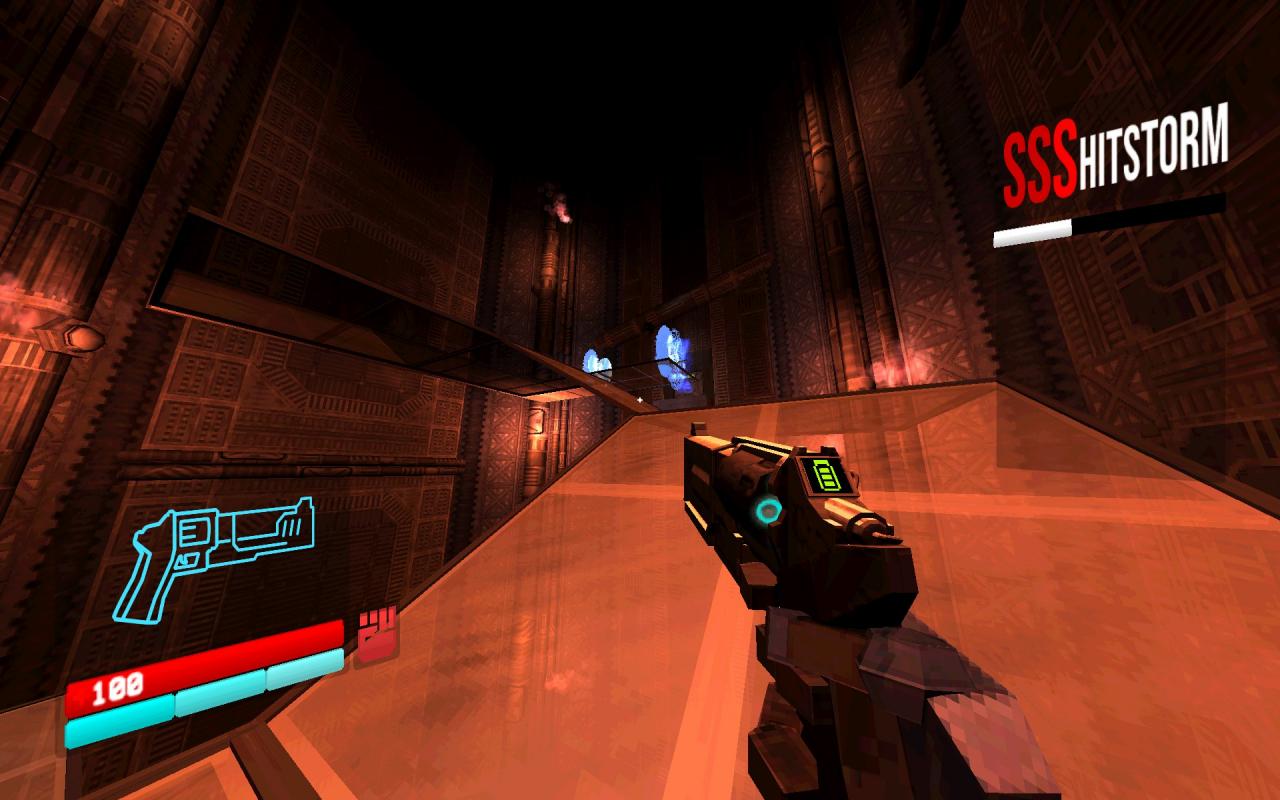
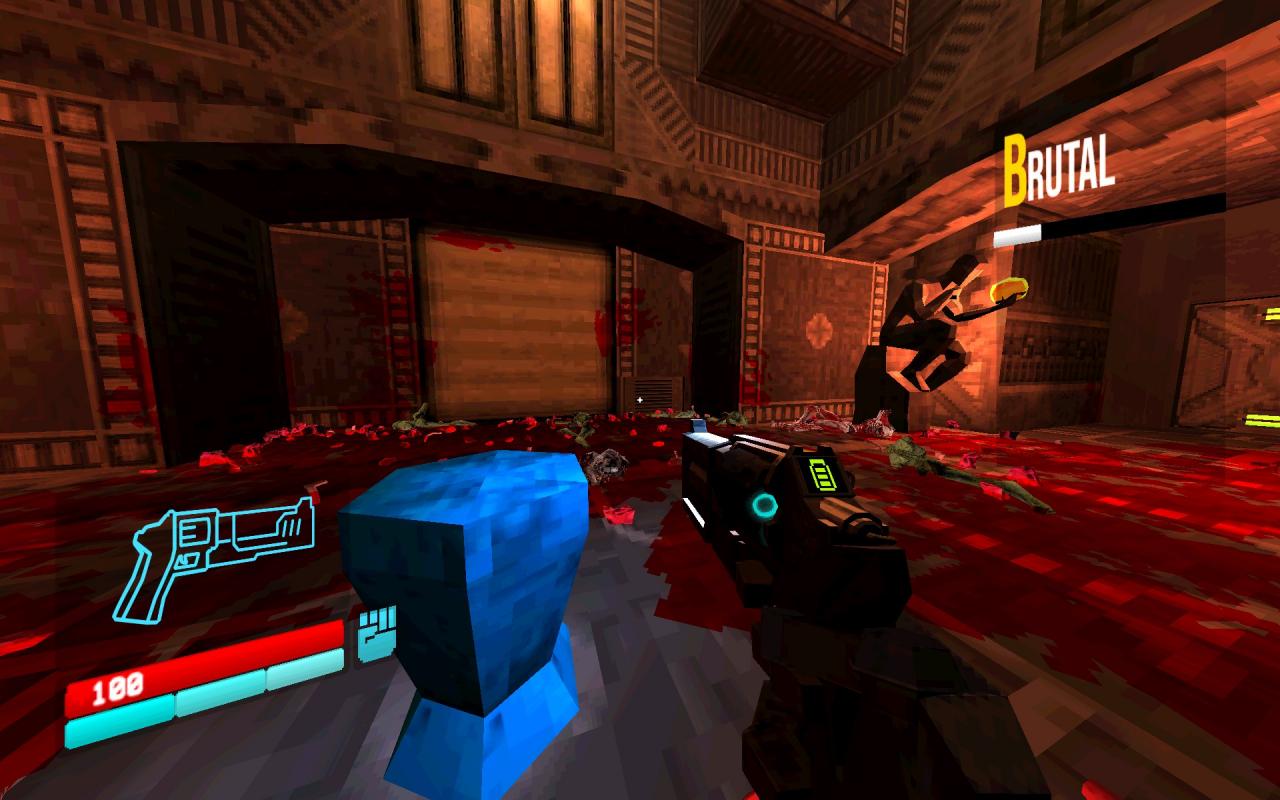
From the entrance, walk North to grab the blue skull. Head out East and move North, continue North, then take West in the large room. Move North in the raised intersection and brace for Something Wicked, swiftly continue North, go East at the crossroad, and North again down the wide stairs, until you find the destination blue altar to the East. Place the skull and await the red one, grab it and quickly move all the way West to the blue corner pictured on the northwest of the map. Jump Up onto the raised ledge, then move down South to the red skull altar.
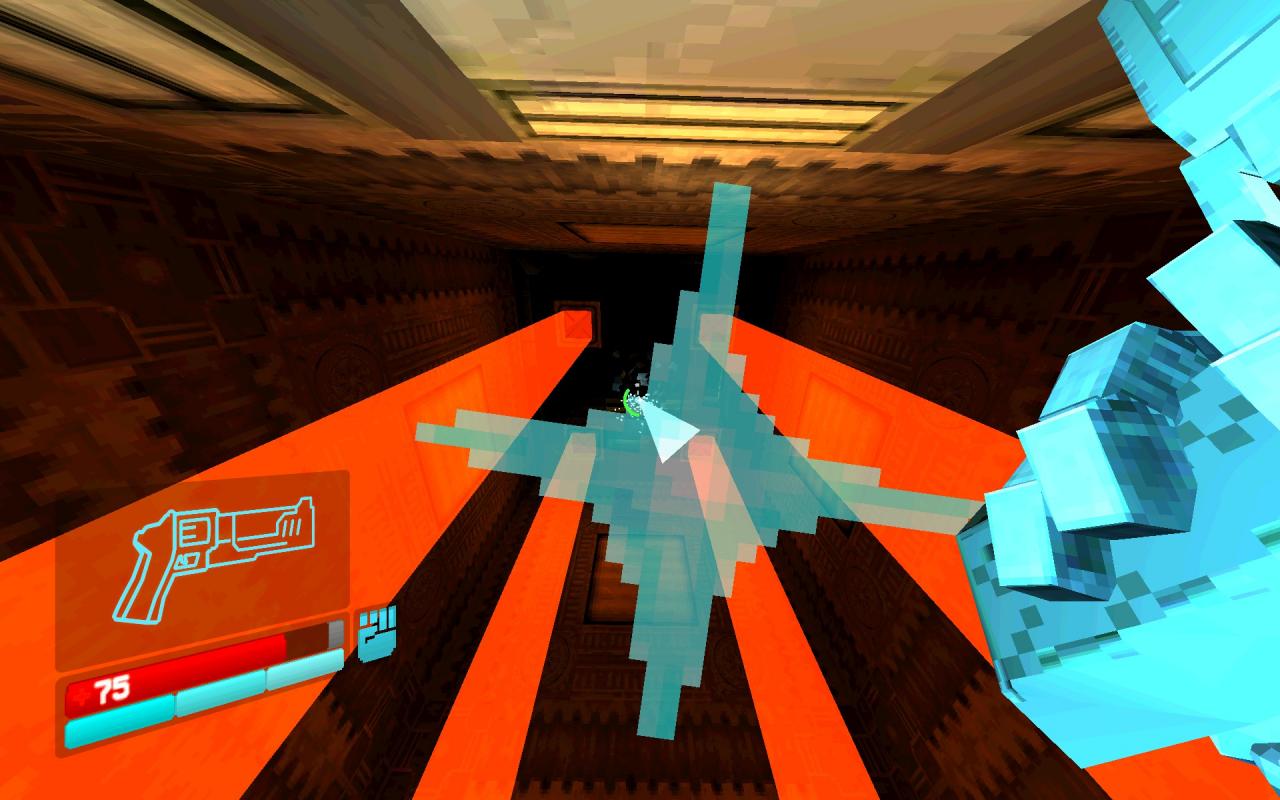
- Performing a melee attack while holding a skull will briefly increase the light it gives.
- Skulls stick to Whiplash's grapple. This can be used to further increase visibility down hallways.
- Also keep in mind that using the Whiplash to pick up the Blue Skull from within the Red Skull's chamber can softlock you if you let the doors close.
Contents
Map and Steam Guide by locked_dream.
![0-S Map.jpg]()
Overview
Tip Of The Day
Enemies
Challenge
SOMETHING WICKED is the secret mission for the Prelude act, and can be accessed through the mission [ 0-2 THE MEATGRINDER ]. Its sole enemy is Something Wicked; a fast, indestructible creature that can destroy V1 instantly.
Testament I [ ]
Testament found at the end of the level. Take your time reading it, Something Wicked despawns as soon as you place the last skull.
You may have noticed a door like this in area 1-4this is what i call the slab door it requires all 4 slabs from the previous areas in the chapter to be activated.
ULTRAKILL All Secret Slabs![]()
Because behind that door is what i call the slab gun its a alternite verson of the revolver but with a slower fire rate BUT HUGE DMG and a charge shot on par with the railgun.
How pt1
From the areas 1-1 to 1-4 there are there are 4 slabs 1 for each level
in order to open the door you must activate ALL the slabs
the first slab is located in this room your gonah have to break the sky light and jump through in order to access the first slab.How pt 2 Electric Boogalo
- To get the 2nd slab your gonah have to fight a secret miniboss
- In order to get there on the otherhand is a bit tricky
- In the room just before the exit of 1-2 theres a room filled with lava
- To your left is a small but breakable wall
- Break that wall and youl be met with a verry large room
- Go to the left of said room and shoot the breakable wall
Find out how to beat the Challenges on each level here, annotated with helpful images and thorough verbal explanations.
![]()
As you know, your starting gun can break glass with its charge shot. Breaking glass that enemies are standing on will cause them to fall, often to their deaths. The easiest room to do this in is the one with the giant fan at the bottom.
If you mess up, pause the game with your ESC key and hit CHECKPOINT to reload a few paces back.
![]()
At the back of that room, instead of going through the checkpoint, go through the door to your left.
In that room is a blue podium, and to the right of that podium is a shutter with a vent on the bottom right of it. This vent can be broken by shooting or punching it, revealing a small tunnel you can slide through.![]()
At the back of the crawlspace is a small room in which you can punch a vent above you and climb out.
![]()
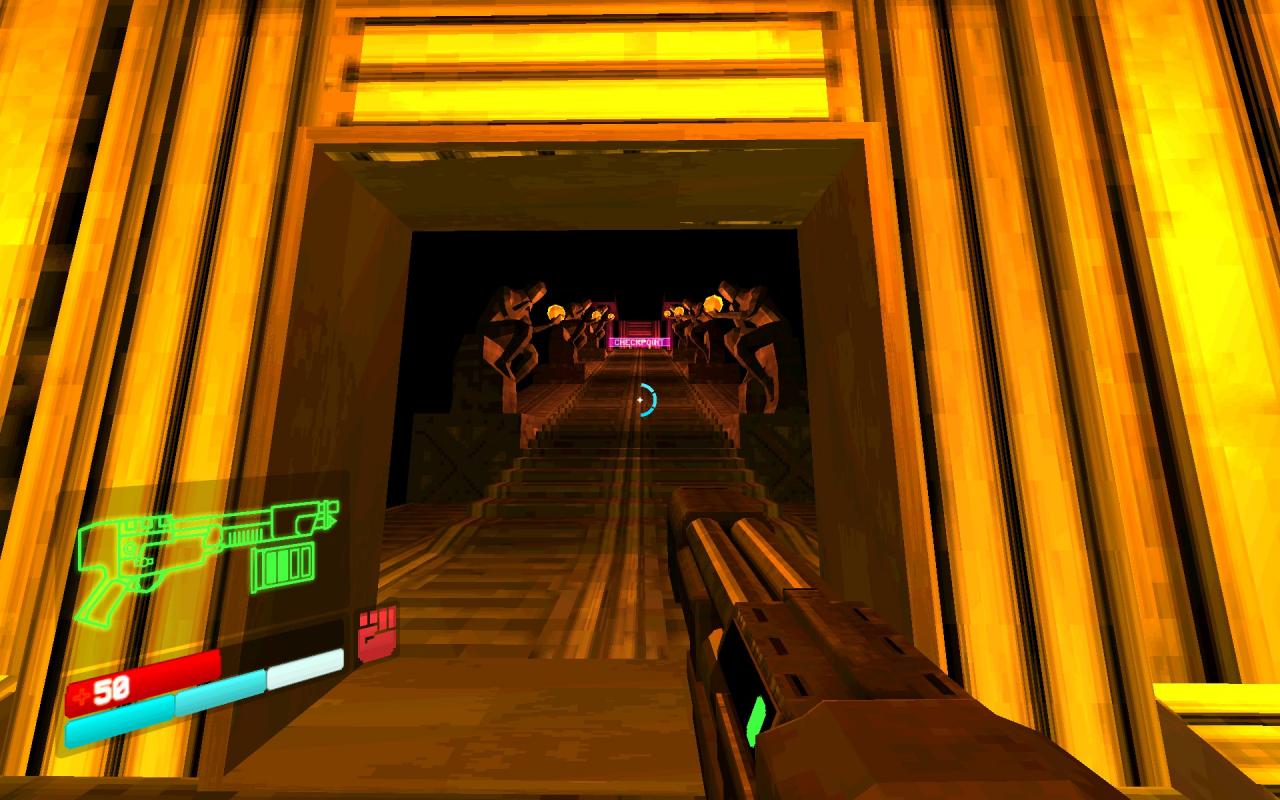
Once you reach the very first room with enemies, jump up to the door to the next room without killing any of them (the melee enemies cannot reach you there, so you only have to dodge the ranged ones). Do not go through the door. Aim way up at the ceiling above you, and notice that it is made of glass. Take out your pistol and use the charge shot to break the middle column of glass on the ceiling. Take care to avoid the shots from the enemies below you while doing this, as you will need at least 51 health to explosive jump soon.
![]()
Once the middle column of glass ceiling is broken, take out your Pump Charge Shotgun and overcharge it. Now simply look straight down, jump, and immediately fire the overcharge. The explosion will send you hurtling upwards, through the glass you broke and into the second-to-last room of the level. Avoid the enemies here and progress through the next door, which takes you to the boss room (which is also the final room of the level).
The explosion from their own thrown projectile will kill them, inflicting fatal damage without you needing to actually shoot them.
This is very, very easy, and simply relies on you knowing the trick to accessing the secret level.
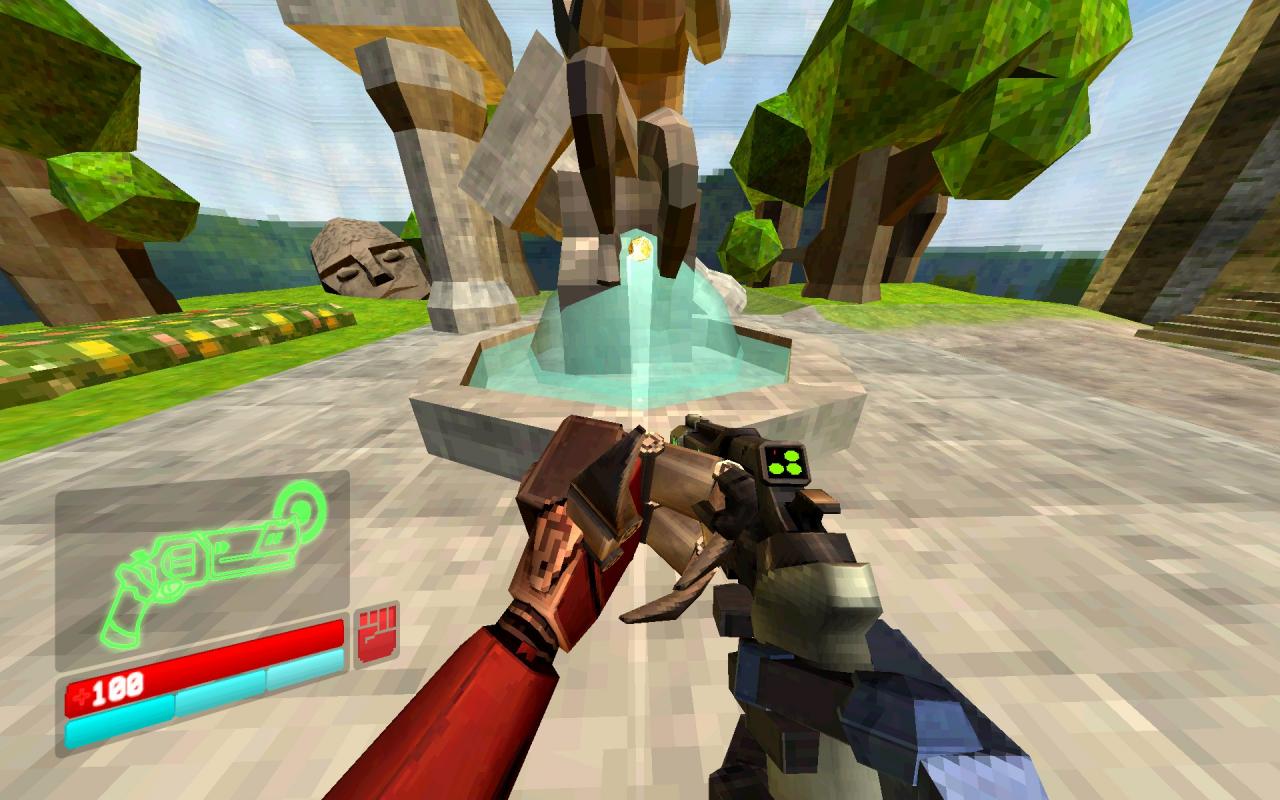
When you enter a secret level, it counts as completing the previous level. Fortunately for us, the secret level entrance here is in the very first room.
![]()
Note that the timer does not begin until you leave the spawn room. While in the spawn room, take out the Marksman pistol (the coin gun). As soon as you leave the spawn room, flick a coin into the fountain.
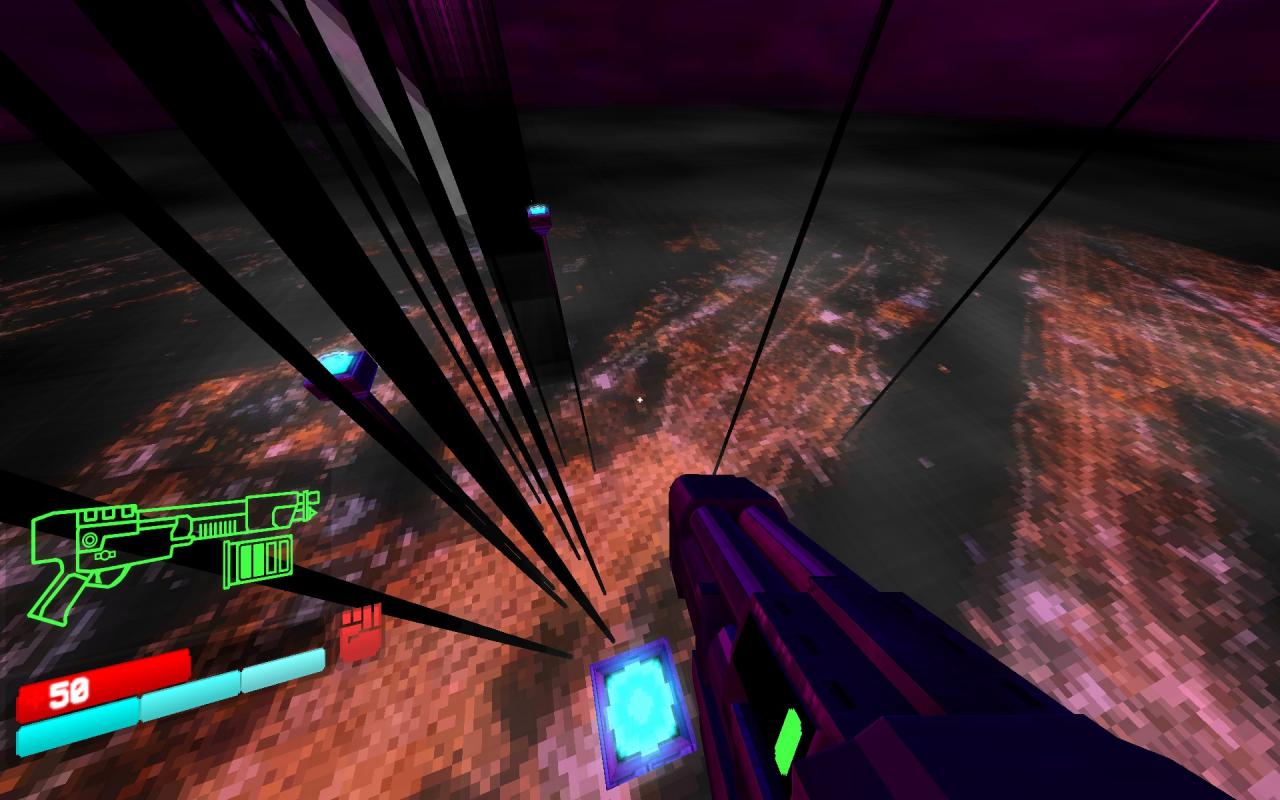
![]()
Behind the tower are several jump pads scattered about. Land on one to bounce back up to the main level.
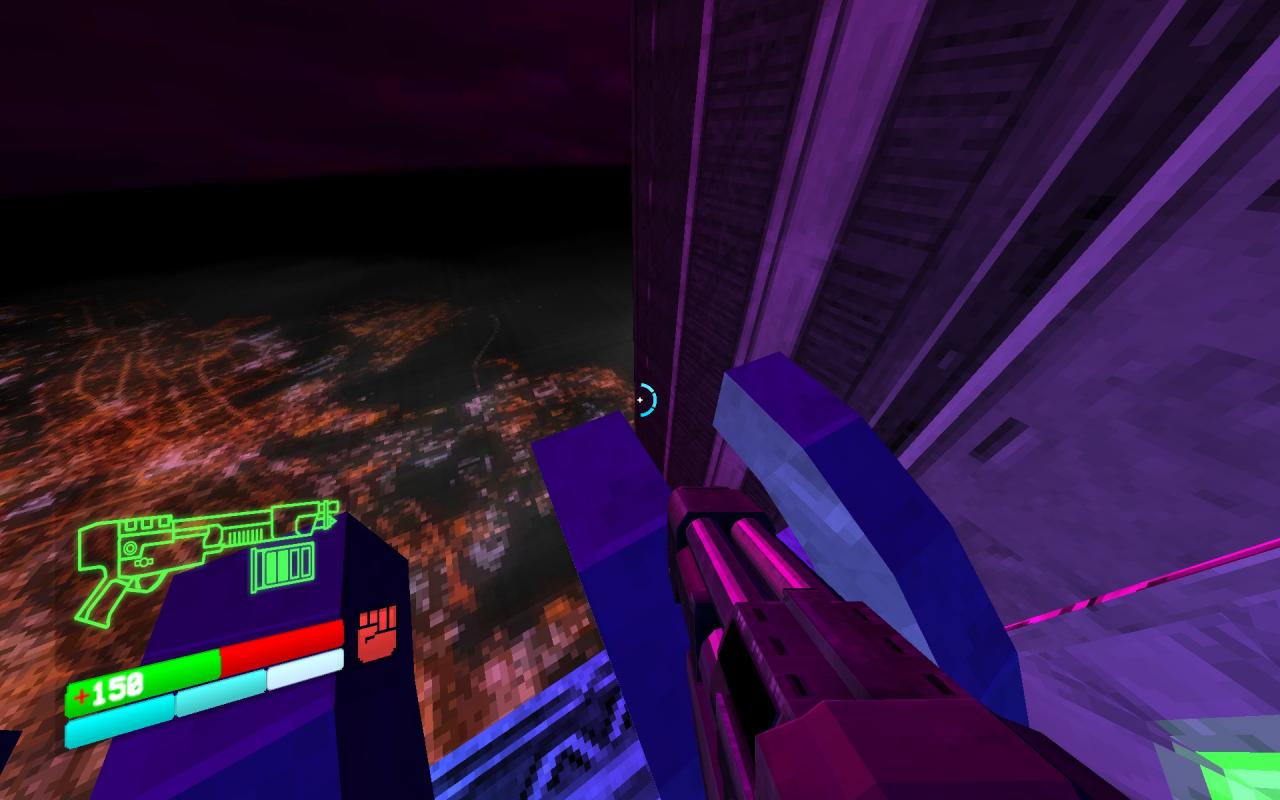
![]()
Instead of opening the door, climb onto those prong things just outside of it. From here, you can (dash-)jump, strafe/dash back to the tower, walljump off of it, and then Pump Charge Shotgun explosive jump for that last bit of height to reach the end of the level. Be sure to make liberal use of your air dashes while you do this, as they recharge very quickly. You can also grab the Red Secret orb before doing this so that you can go in with 200 HP, allowing you to simply use the Pump Charge jump 3 times without needing to heal.
Once you make the jump, the end of the level is freely accessible.
Читайте также: