
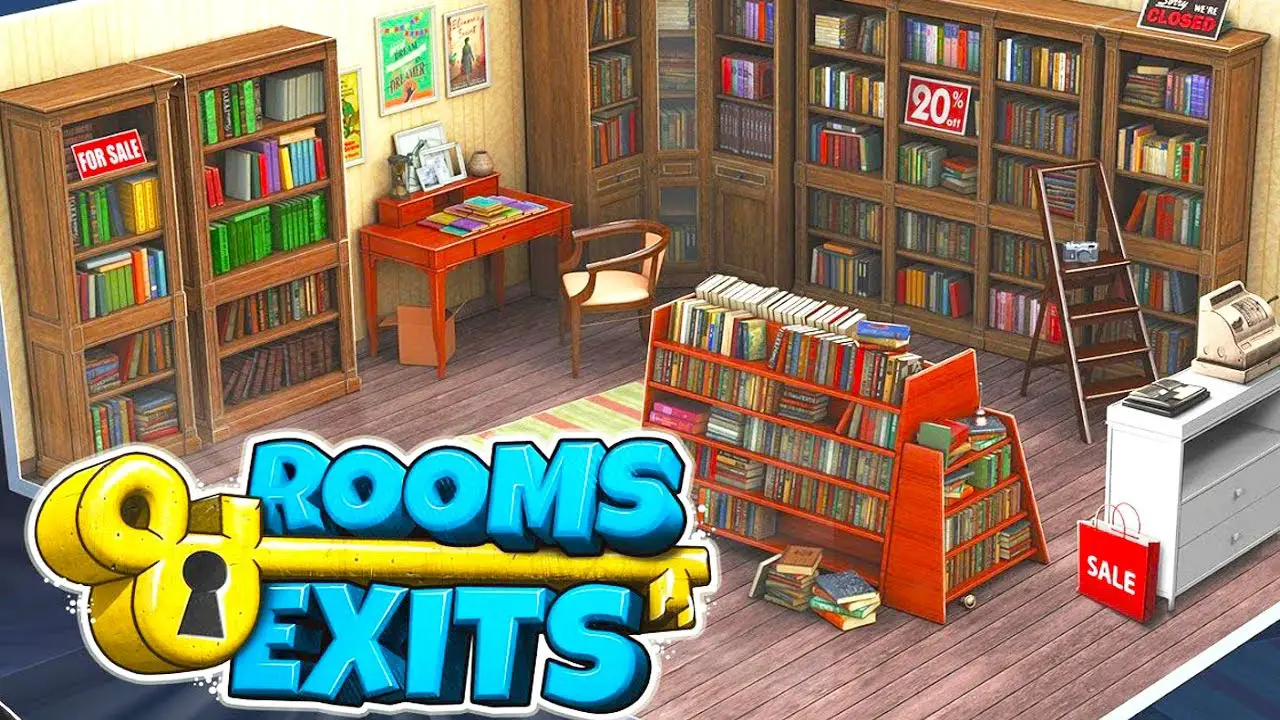
Rooms exit прохождение магазин игрушек
Обновлено: 05.07.2024
На игровом экране, в его левой части, в процессе игры отображаются ячейки инвентаря, постоянно открытого для использования. В правом верхнем углу экрана находится значок, нажатие на который вызывает открытие игрового меню. В стадии обучения, в первой части игры, и при включенном режиме подсказок, в определенные моменты на экране появляются поясняющие надписи. После обнаружения необходимых составляющих и их комбинирования, в правой части экрана будет находиться значок объектива, с помощью которого можно будет рассмотреть объект в ином цветовом диапазоне для обнаружения дополнительной информации. Курсор, как таковой, в игре отсутствует.
Интерфейс оболочки
Стартовое меню имеет три опции.
Опции настроек позволяют:
- задать громкость звука;
- войти в опцию настроек графики;
- просмотреть список разработчиков.
Игровое меню открывается нажатием на значок в верхнем правом углу экрана.
Все активные действия выполняются с помощью компьютерной мыши. Перемещений, как таковых, в игре нет. При исследовании объекта его осмотр производится поворотом камеры обзора вокруг него. Поворот осуществляется мышью, при нажатой левой клавише мыши (ЛКМ). Более подробно манипуляции будут описаны в прохождении.
Сохранения (сейвы) текущего состояния игры производятся автоматически. В процессе прохождения имеем возможность перезапустить ту главу, которую проходим.
«The Room» – пазл-адвенчура, в этой игре необходимо раскрыть все секреты, которые хранят в себе объекты исследований (шкатулки, шкафчики, сейфы).
Глава 1. Обучение

Зажимаем ЛКМ, двигаем мышью, чтобы повернуть камеру обзора, осматриваем шкафчик со всех сторон. Смотрим наверх шкафчика (дважды щелкаем ЛКМ по верхней области шкафчика). Удерживая ЛКМ, вытаскиваем из конверта письмо по указанной стрелке . ЛКМ щелкаем по «небольшому медному ключу с изображением животного», и он автоматически появляется в нашем инвентаре. Камера обзора автоматически перемещается к круглой шкатулке. Зажимаем ЛКМ, вращаем крышку шкатулки до тех пор, пока не совпадут верхняя и нижняя части замка на ней. Нажимаем на изображение ключа в инвентаре, не отпуская ЛКМ, перетаскиваем его на замок шкатулки. Поворачиваем ключ в замке (зажимаем ЛКМ, вращаем мышь). Открываем крышку (зажимаем ЛКМ, тянем мышь вверх). Достаем из шкатулки «Необычный окуляр».
Его изображение появляется в правой части экрана. При нажатии на него ничего не происходит – возможно, не хватает детали.
Щелкаем дважды по лежащей здесь же записке, читаем загадку. Отгадка – огонь.
При осмотре шкафчика мы обратили внимание на то, что на его ножках находятся символы стихий – земли воздуха, огня и воды.
Щелкаем правой клавишей мыши (ПКМ), чтобы выйти из приближения (отодвигаемся от верхней области шкафчика). Перемещаем взгляд вниз, находим ножку, на которой закреплен символ огня. Нажимаем на него ЛКМ. Забираем из открывшейся полости «Необычный старый ключ». Изучаем находку в инвентаре.
Мы можем поворачивать концевик ключа, чтобы придать ему другую форму.
Отодвигаемся, разглядываем стенки шкафчика.

Приближаем взгляд (двойное нажатие ЛКМ) к стенке с вертикальной пластиной и с заклепками в центре. Отодвигаем в сторону пластинку на одном из участков. Исследуем конфигурацию замочной скважины. Берем ключ (щелкаем по изображению ключа в инвентаре). Поворачиваем концевик , чтобы он совпал по конфигурации со скважиной. Закрываем инвентарь (нажимаем на стрелку справа). Зажимаем ключ ЛКМ, перетаскиваем его на замочную скважину (изображение ключа становится четким тогда, когда он попадает в активную зону). Поворачиваем ключ в замке. Из открывшейся ниши достаем «Металлическую пластину с витиеватой гравировкой». Выходим из приближения. Поворачиваем камеру вправо.

Приближаем взгляд к табличке изготовителя. Используем пластину на винт , крепящий табличку. Поворачиваем его против часовой стрелки, откручиваем винт. Достаем из ниши линзу. Автоматически отодвигаемся от шкафчика. Линза, также автоматически, устанавливается в окуляр. Щелкаем по нему. Видим изображение стенки в ином цветовом диапазоне. Рассматриваем проявившийся рисунок . Щелкаем по окуляру, переходим в нормальный режим зрения.

Поворачиваемся к стенке с кругом в центре. Приближаем взгляд к окошку над кругом, закрытому шторкой. Отодвигаем шторку. Смотрим на ключ, поворачиваем концевик на 90°, вставляем ключ в замок , и поворачиваем ключ по часовой стрелке.
С круга на стенке отодвигается сегментная крышка.
Щелкаем по окуляру и на кольцах проступают части рисунка. Вращаем кольца, восстанавливая рисунок. Открываем стенку шкафчика.


На шкатулке необходимо открыть три замка.
Щелкаем по окуляру. Осматриваем шкатулку.

На одном из ребер замечаем отпечатки пальцев . Нажимаем на ребро, извлекаем из тайника «Древнюю книгу в кожаном переплете». Рассматриваем находку в инвентаре. Поворачиваем кольца : верхнее, нижнее, центральное, правое. Забираем из раскрывшейся книги ключ.
Похоже, этот ключик используется для завода часового механизма.
В той нише, откуда взяли книгу, видим подсказку. Выходим из приближения.

Поворачиваемся к стенке шкатулки, на которой расположен квадрат с кодовым замком внутри. Приближаем к нему взгляд, щелкаем по окуляру. Видим подсказку – в левом окошке надо выставить 5, в правом – 7.
Вращаем шкатулку так, чтобы увидеть, какие цифры должны быть вверху и внизу.


Устанавливаем в окошках подсказанные цифры . В открывшемся окне опускаем рычажок.

Автоматически поворачиваемся к той стороне шкатулки, из которой выдвигается устройство. Смотрим на его левую сторону. Откидываем крючок . Вставляем ключ в замок открывшегося механизма, вращаем ключ по часовой стрелке (внутри устройства начинает вращаться диск). Смотрим на низ ножки шкатулки, справа от шкатулки. Щелкаем дважды по ней ЛКМ. Вращаем поворотную часть, достаем из полости ножки «Небольшой кусочек хлопчатобумажной ткани», пахнущий парафином. Выходим из приближения. Затем приближаем взгляд к правой стороне устройства. Вставляем фитиль в отверстие, крутим колесико слева, высекая искру.

Выдвигаем рычажок справа, тянем вверх – горящий фитиль поднимается вверх, освещает изнутри окошко. Выходим из приближения.

Поворачиваемся к стороне шкатулки с замком в центре. Приближаем взгляд к кольцу на ножке шкатулки слева. Вращаем кольцо. Достаем из выдвинувшейся верхней части «Миниатюрный телескоп». Изучаем его в инвентаре, вращаем кольца – телескоп принимает рабочий вид . Устанавливаем его в подставки устройства. Смотрим в телескоп, видим фильм. Щелкаем по окуляру и снова смотрим в телескоп – открывается подсказка – TRIAL . Автоматически приближаемся к открывшемуся окошку слева и снова щелкаем по окуляру.

Выставляем рисунок, вращая кольца. Достаем из открывшейся ниши «Медную табличку с буквой L». Вновь поворачиваемся к стороне шкатулки с замком в центре. Приближаем взгляд к окошкам над ним. Устанавливаем букву в пустой слот. Вращаем колесики, выставляем слово TRIAL .
What a delicious meal (cupcakes) we had baked in a Rooms and Exits Bakery Level. Now, the game welcomes you to a Fashion Store where your objective is almost the same – find hidden objects and utilize them to open the door and escape the room. Over time, the difficulty level is gradually increasing and no one knows what you may confront at the last stage. Keep following Rooms and Exits Walkthroughs to learn how to complete levels.

Besides, the game features a stunning environment and intuitive controls that make your grip stronger over gaming aspects. Making use of the zoom-in and out feature may help you clearly investigate the scene when collecting or finding hidden objects. All items you will find across the room will be added to a bag, known as inventory that upon being tapped will open with four buttons, including Use, Combine, and Dismantle. Follow the steps to complete Rooms and Exits Level 7:
- Tap on the sofa to collect a lady handbag and use the dismantle button after selecting the bag to bring a scarf out of it.
- Select the bag from inventory and don’t forget to hit the use button, click on the dummy on the right side to let it hold a bag.
- Now, move to the first dummy and let it wear a scarf.
Second Room
After that, you should move to a second room where you have to find a puzzle piece from behind a sofa kept near the cloth stand next to the ladders.
- Drag the curtains aside to collect a hat.

Main Room
Visit the main area and click on a dummy between twos. Following the instruction as I said will help you collect the second piece of the puzzle.
Second Room
After collecting both puzzle pieces, you should move to the second room. Open your inventory to combine both puzzle pieces to reveal a passcode and head to the locker above the cupboard.
- Enter the passcode (7035) to open the locker and collect three objects, including shoes, from there.
- Once it is done, head to another locker kept on the right side of the locker you have recently cracked. Set the color of each square as follows: Yellow, LightBlue, Purple, Red, and Yellow to open it and collect a shirt button.
Main Room
Now, you should move to the main room and head to a counter to collect a yellow button. Move on to the second cloth rack from the right side to discover coats.
- Collect scissors from the coat and use them to collect a blue button.
- Tap on the wall next to the counter to discover a board where you can add buttons from your inventory.
- Head to a shoe rack near the board and keep a lady shoe you collected from the second room. Turn all signals to green and collect a paper piece with a hint.
- Your next objective is to get a receipt that is only possible when you head to a PC and enter the price written on the paper.
- Click on the counter’s back, add the missing piece of the puzzle, and start playing a mini-game. Your goal is to set all blocks in their proper color and shapes as the game demands to collect a barcode scanner.
- Open your inventory to combine both the wire and the barcode scanner.
- Head to the counter once again, keep the barcode scanner on its stand and select the receipt from your inventory, and scan it to reveal a code (30015).
- Head to the main door and enter the passcode (30015) to escape Rooms and Exits Level 7.
Rooms and Exits Level 7 Walkthrough has been completed, let’s move on to the Rooms and Exits Level 8.

Rooms and Exits Level 23 takes place in a Stores Store where different types of kits are available. Surely, you would love to be a detective because there is a man who needs your help. The plot revolves around a character who has been trapped either in a mall or any building where different types of shops are available, ranging from a Fashion Store to a Grocery Store. You neither see the character nor navigate the environment like other 3D games. Tap the area to find hidden objects and zoom out to explore more. IT has over 29 challenging rooms that you must escape at any cost; each one is full of challenges and hurdles that you must overcome.

Rooms and Exits Walkthrough Level 23 – Sports Store
This time, the game welcomes you to a store where interacting with objects and finding hidden items are your ultimate goals. Don’t tap the screen randomly as it won’t work. You should rely on your detective and puzzle-solving skills to succeed.
- Firstly, click between the plastic models to collect a football and tap on the shoe rack to get the following things: Machine and Snooker Ball.
- Secondly, tap on a table kept forth the red wall and head to the shopping bags to get a tape and a snooker ball.
- Near the exit door, there is another rack for pants wherefrom you can get another football.
- A few colorful caps are hanging over the wall and your goal is to keep their colors in mind. Afterward, head to a telephone to see the colorful buttons, then tap on the computer and enter the following code: 6273519.
- As you enter the code, a drawer opens holding a purple ball.
Second Room
After following the above-mentioned points, you should move to the second room where more challenges await you. The game doesn’t feature any list of objects to find; therefore, you should assume and find objects that could help you solve the puzzle yourself, although you can’t collect the items of your choice. So, read our Rooms and Exits Level 23 Walkthrough to learn how to complete challenging puzzles.

- Once you are in the second room, click on the front wall to count how many rackets of different colors are there – Brown (5), Purple (2), Yellow (1), and Green (6).
Leave the room and come out to discover a box kept on the red seat.
- Head to the box and tap the button following the racket quantity and color.
- Collect a scissor as the box opens and keep it in your inventory.
- Go into the second room to collect a volleyball kept on the right side of the door below the balloons.

Open Your Inventory
- After collecting a scissor, you should open your inventory, select scissor and volleyball, and hit the combine button to get a bolt opener’s knob.
- Now, select the machine already available in the inventory and the bolt opener’s knob, and hit the combine button to get a complete machine.
- On the left side of the glass counter, there’s a rack for pants. Click on the rack to collect a bolt kept above it between the pants.
- Now, open your inventory to combine both the bolt and the machine. Use it to repair a rack available in the second room and keep the yellow football there. After that, do the same with the blue ball and keep over there on the stand.
- The third purple-colored football is available on the table kept amidst the room. Collect the ball from there and keep it on the rack you recently repaired.
- After that, get a bag from the right side of the rack and keep it in your inventory. Select the bag from the inventory and hit the dismantle button to get a black ball that you must keep in the same place.
- Select the tape from your inventory and use it to tie both curtains of two rooms.
Changeroom 1
- Get into the first change room to get a football and a cutter from there.
Changeroom 2
- You will discover a wallet and a football from the second changeroom.
After that, come out of the room and choose the green football that you have to keep on the rack to display.
- Open the inventory and dismantle the purse to get a pass card.
- Head to the table once again to collect an object that you can use with snooker balls to make marks on them.
- Come out of the room and tap on the door where you need a pass card to unlock it.
- Select the passcard from the inventory to open the door and get into the room to discover new objects.
Gym Equipment
After unlocking the room, you find yourself standing in a gym store where lots of machinery and many other items are available. You have to find a few specific objects to solve the puzzle.
- On the yellow wall, the game features a mini-game for you to play. If you are a master in playing jigsaw puzzles, then it will be done within a few seconds and you end up in the game with a key.
- Below the jigsaw puzzle, you can get a snooker rack. Open your inventory to dismantle the cutter and use it to cut the punching bag for a ball.

- Head to a painting hanging next to the jigsaw puzzle and keep the colors, as well as arrows direction in mind.
![]()
- After that, head to the shoe rack to arrange them following the colors you have seen on the board.
- On the right side, there is another room where you must enter to discover snooker tables.
- A football is available on the left corner of the room that you must collect and add to your inventory.
- Remove the cover from the table and head to a red box where you must arrange letters to form the same word as you have found after arranging shoes. Following the step as I said will help you collect three balls.
- Select the key from the inventory and use it to open the snooker table’s drawer to collect two balls.
- Go to the second room through the main hall and head to the rack given below the football rack where you must keep the ball first and then go below.
- Arrange the water bottles following the order of shirts available outside on hangers.

- Once you are done, the game reveals the second last ball.
- For the last ball and a billiard stick, you must head to the wall on the right side.

- Now, head to the snooker table where you must place all balls, including a rack and a stick. Play a shot to get an exit key and escape Rooms and Exits Level 23.
Rooms and Exits Level 23 has been completed. To learn how to complete Level 24, click on the given link.
Чужой компьютер

Антикафе Бочка Мёда
вернуться к странице
Антикафе Бочка Мёда запись закреплена
TheDrot v-log Блог про настольные игры и НРИ
Снял прохождение квеста из топовой серии Exit Квест
Здесь у нас настоящий квест-детектив. С разными подозреваемыми и вычислением - кто же убийца
Читайте также: